What is SpeakRecap?
SpeakRecap turns your lesson into a complete homework package with summaries, vocabulary lists, flashcards, and exercises - automatically. This guide walks you through the full process from account setup to your student receiving their first assignments.
How does SpeakRecap work?
Submit your lesson audio, or record directly with the SpeakRecap recorder. During upload you can specify the focus of the lesson. The platform identifies relevant vocabulary and language points covered, creates a lesson summary, and generates a set of personalised reading, speaking, writing, and listening exercises for your student. You can review and edit the results before publishing, and your student logs in to complete their homework at their own pace.
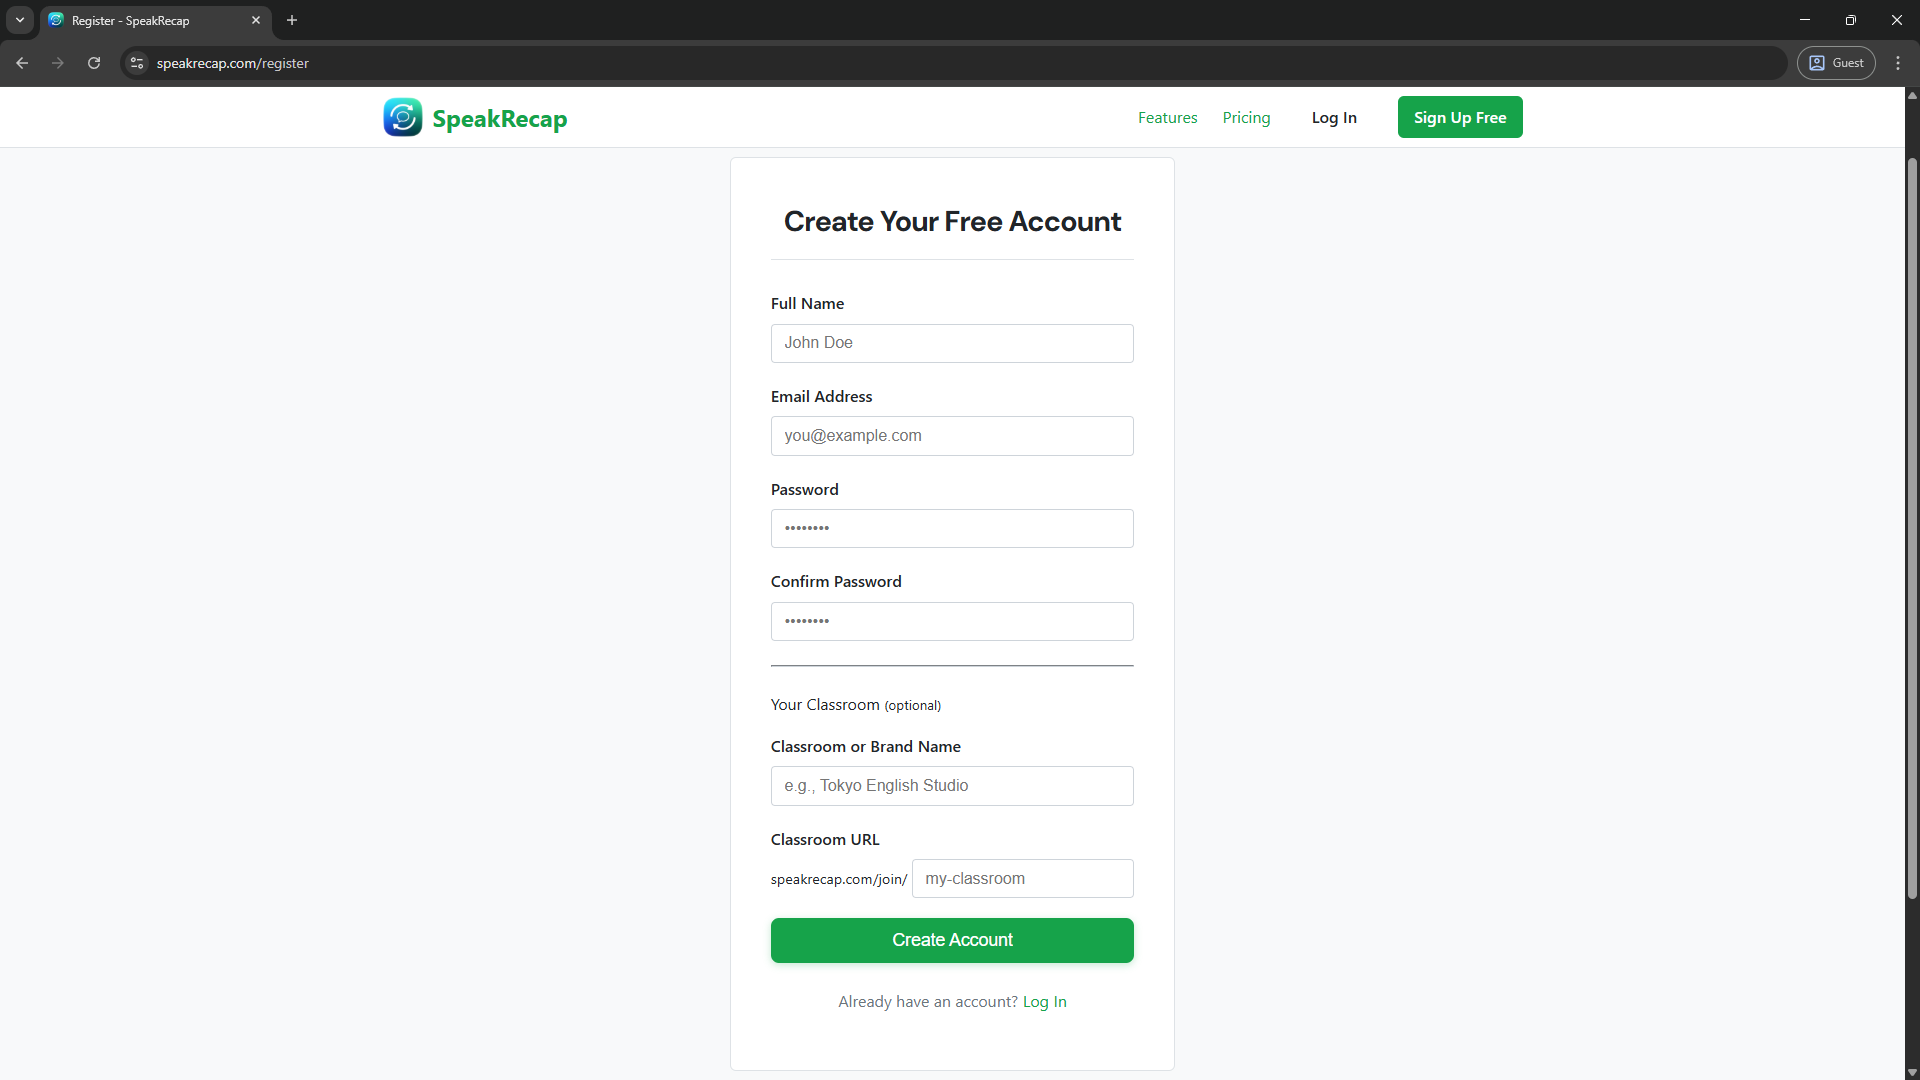
Setting Up Your Account
Confirming your email
After signing up, check your inbox for a confirmation email and click the link inside. You won't be able to add students or submit lessons until your email address is verified.
Setting up your classroom branding
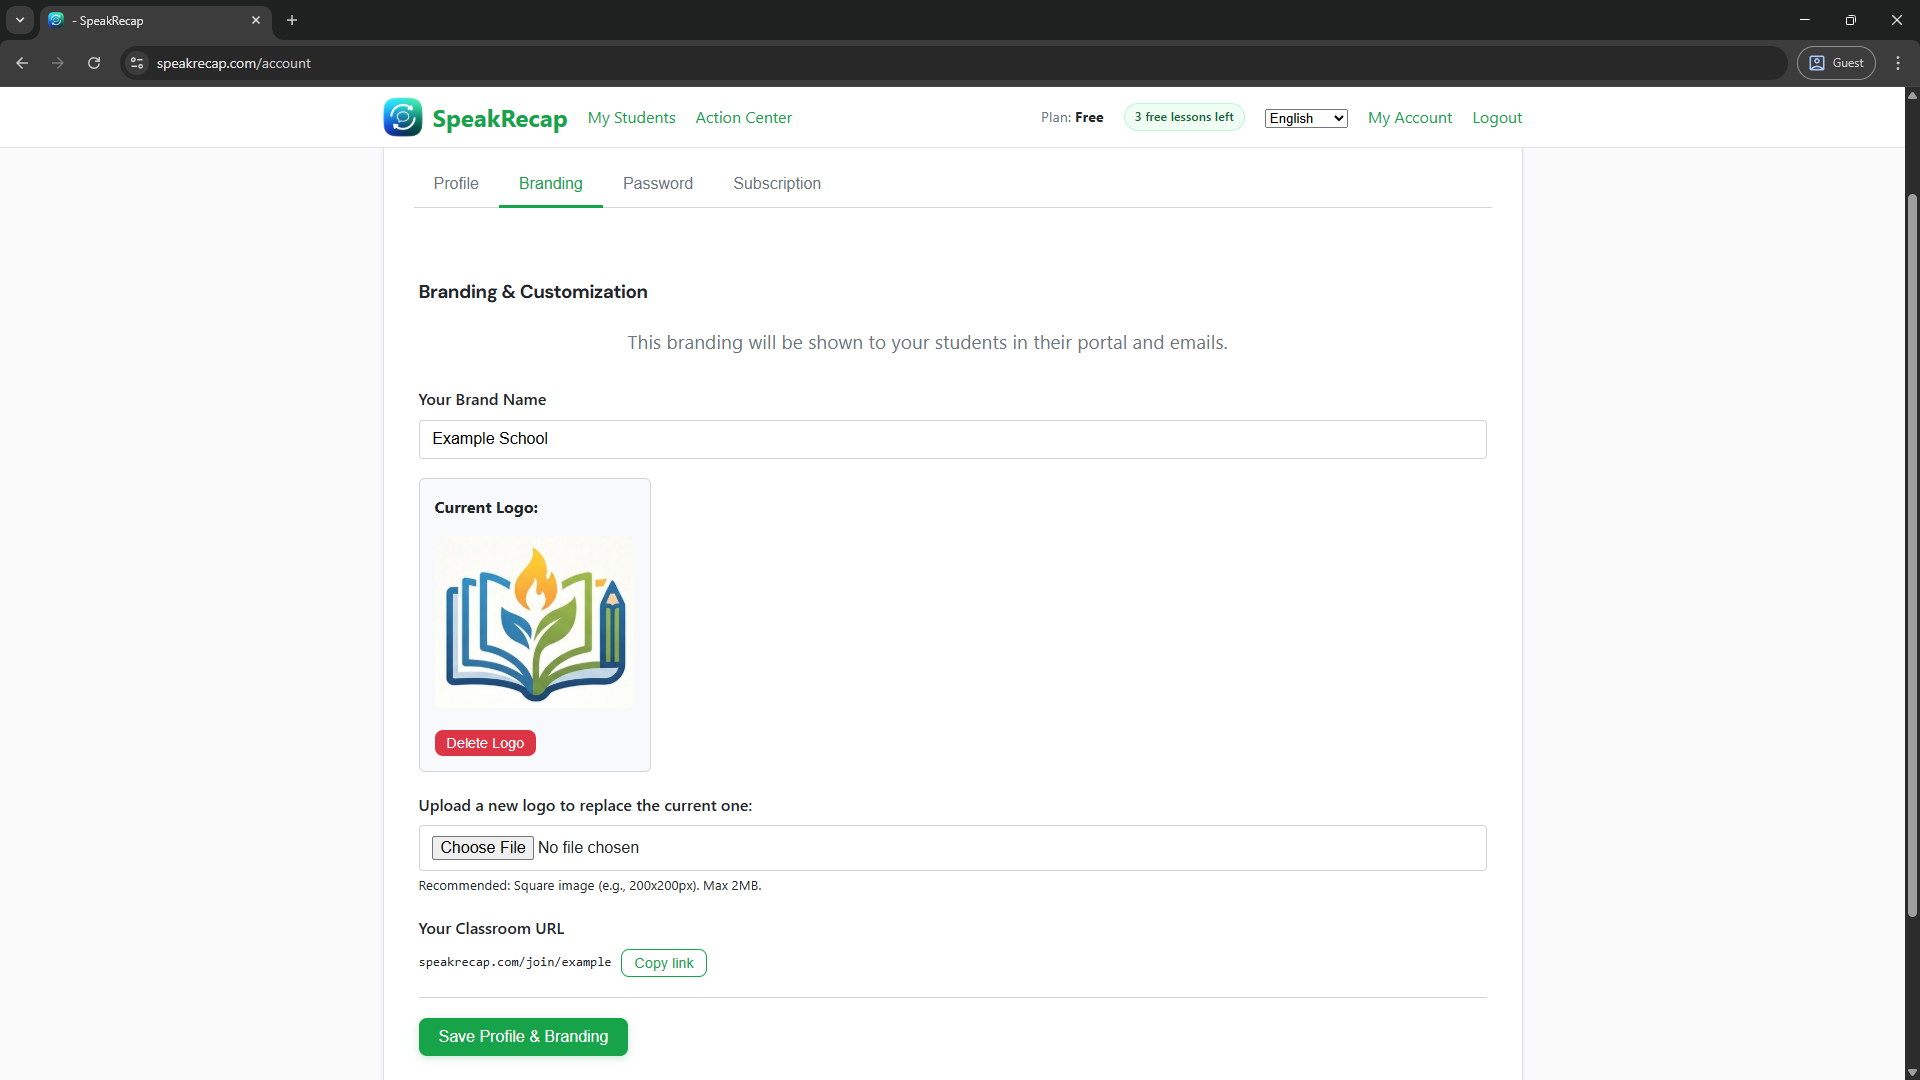
Under Account → Branding, you can give your classroom a custom name and URL. For example, if you run "Tokyo English Studio", you can set a classroom slug like tokyo-english-studio and share the URL speakrecap.com/join/tokyo-english-studio with your students. They use this branded page to log in rather than the generic student login.
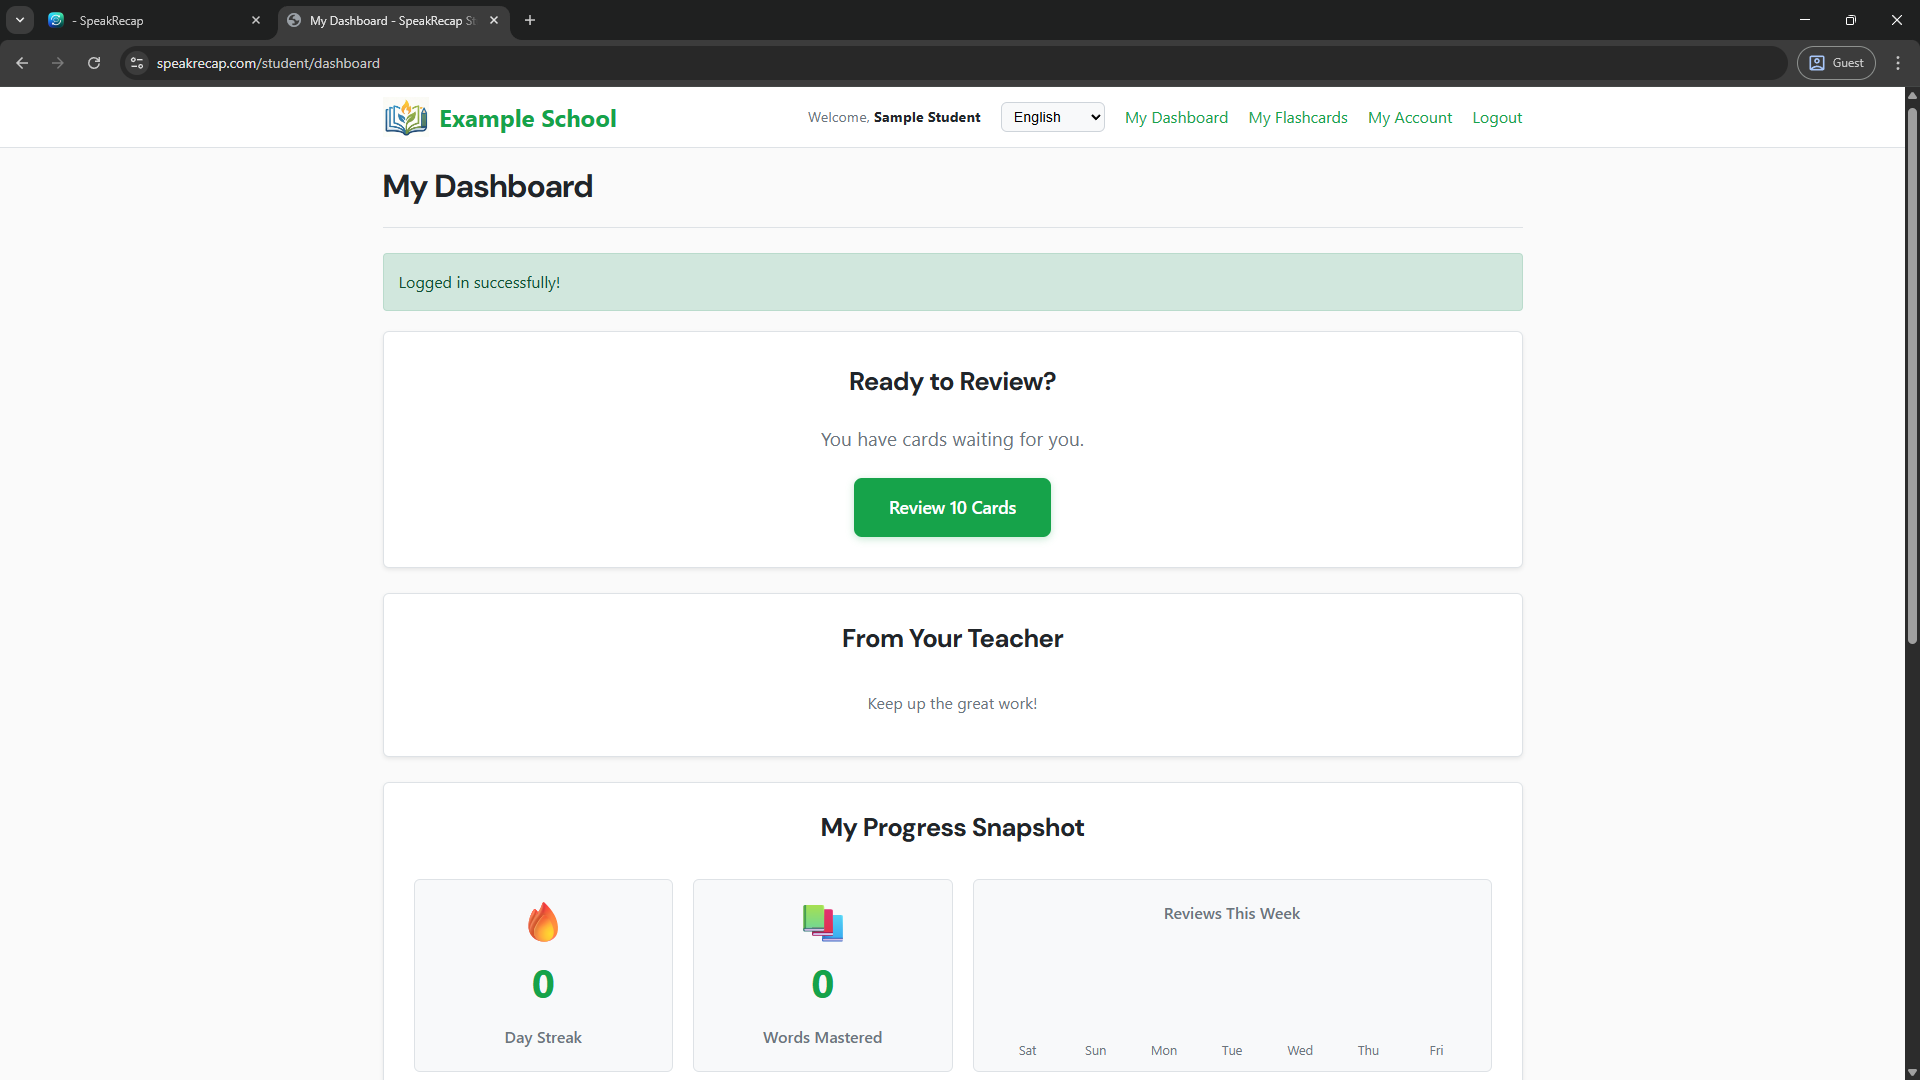
You can also upload a classroom logo, which will appear on your students' navigation bar throughout the app.
Adding Your First Student
Go to Manage Students and click Add Student.
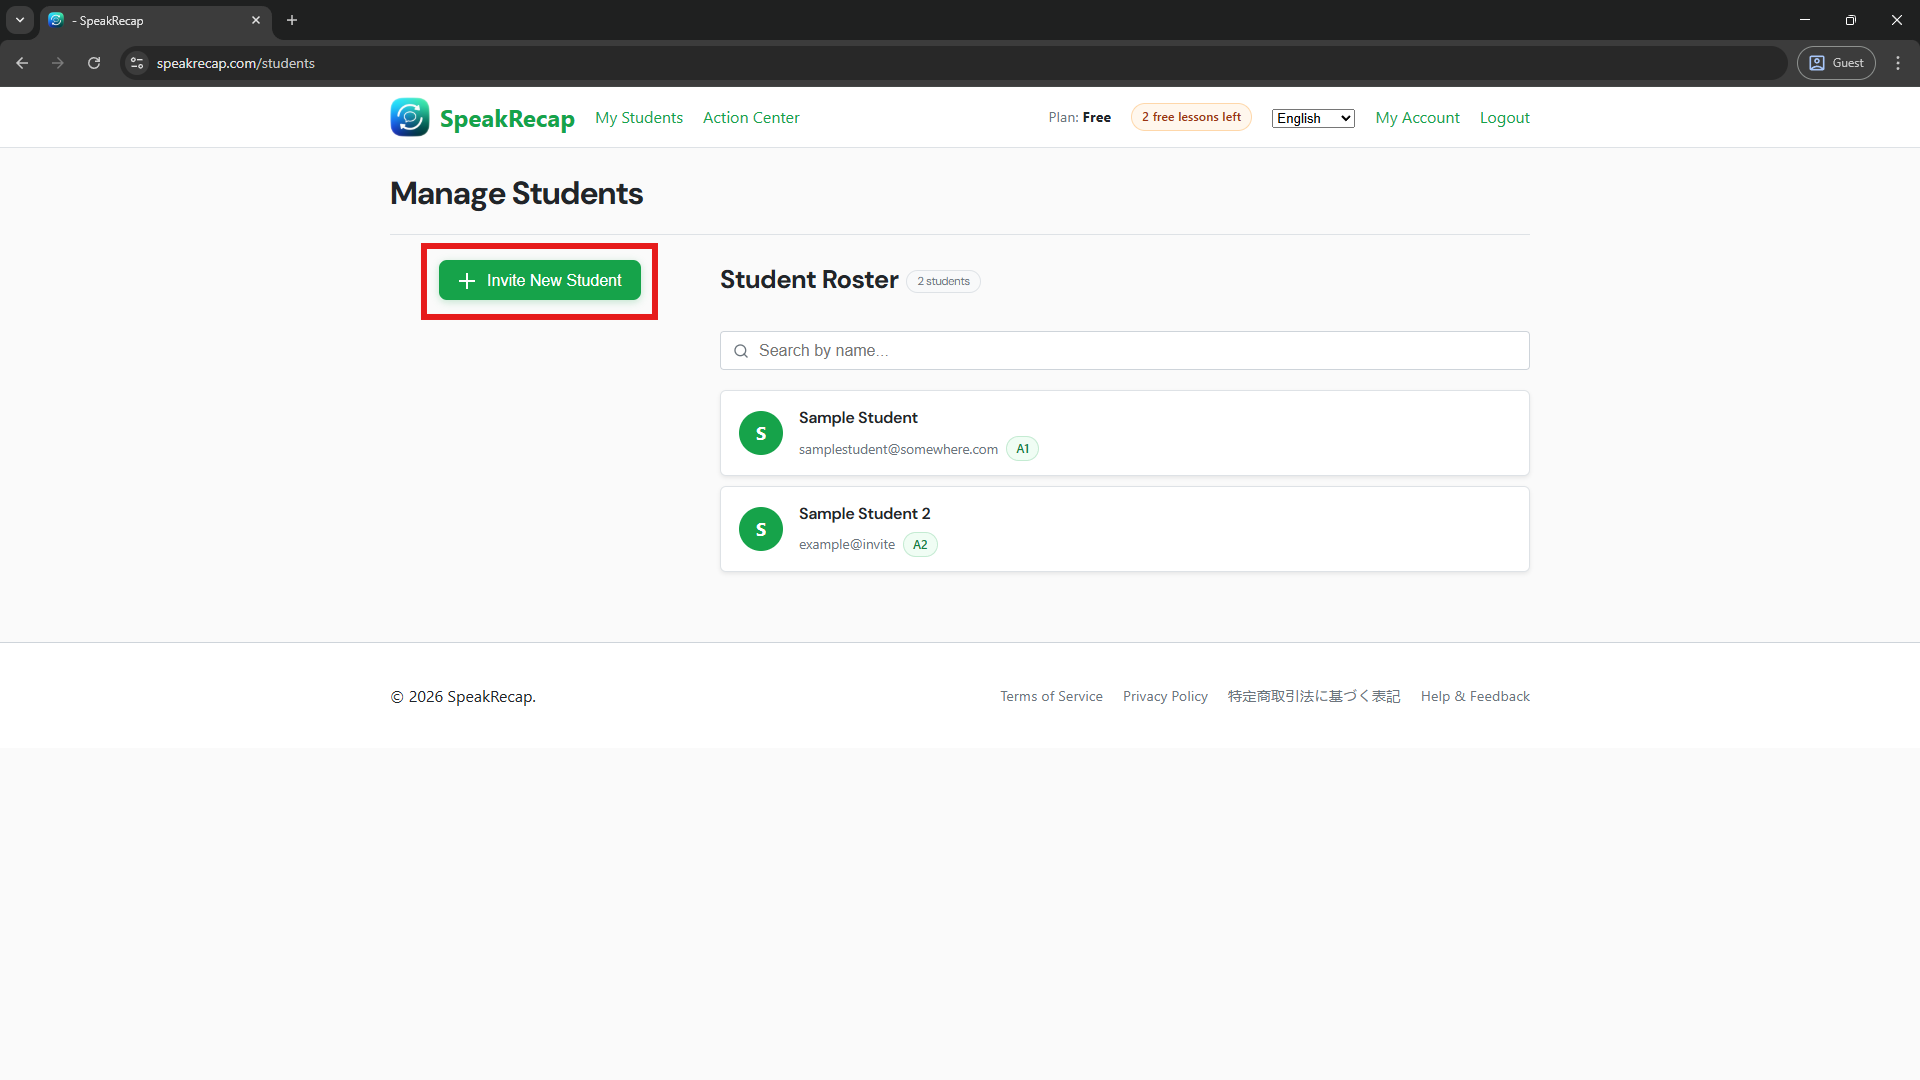
You'll need to fill in:
- Student's Name - required (nickname is ok)
- Student's Email - optional. If provided, the student will receive an invitation email with a link to set their password
- Target language - The language the student wants to learn
- Native language - Student's native language
- Proficiency level - set this manually (A1–C2) or leave it as Automatic for SpeakRecap to assess
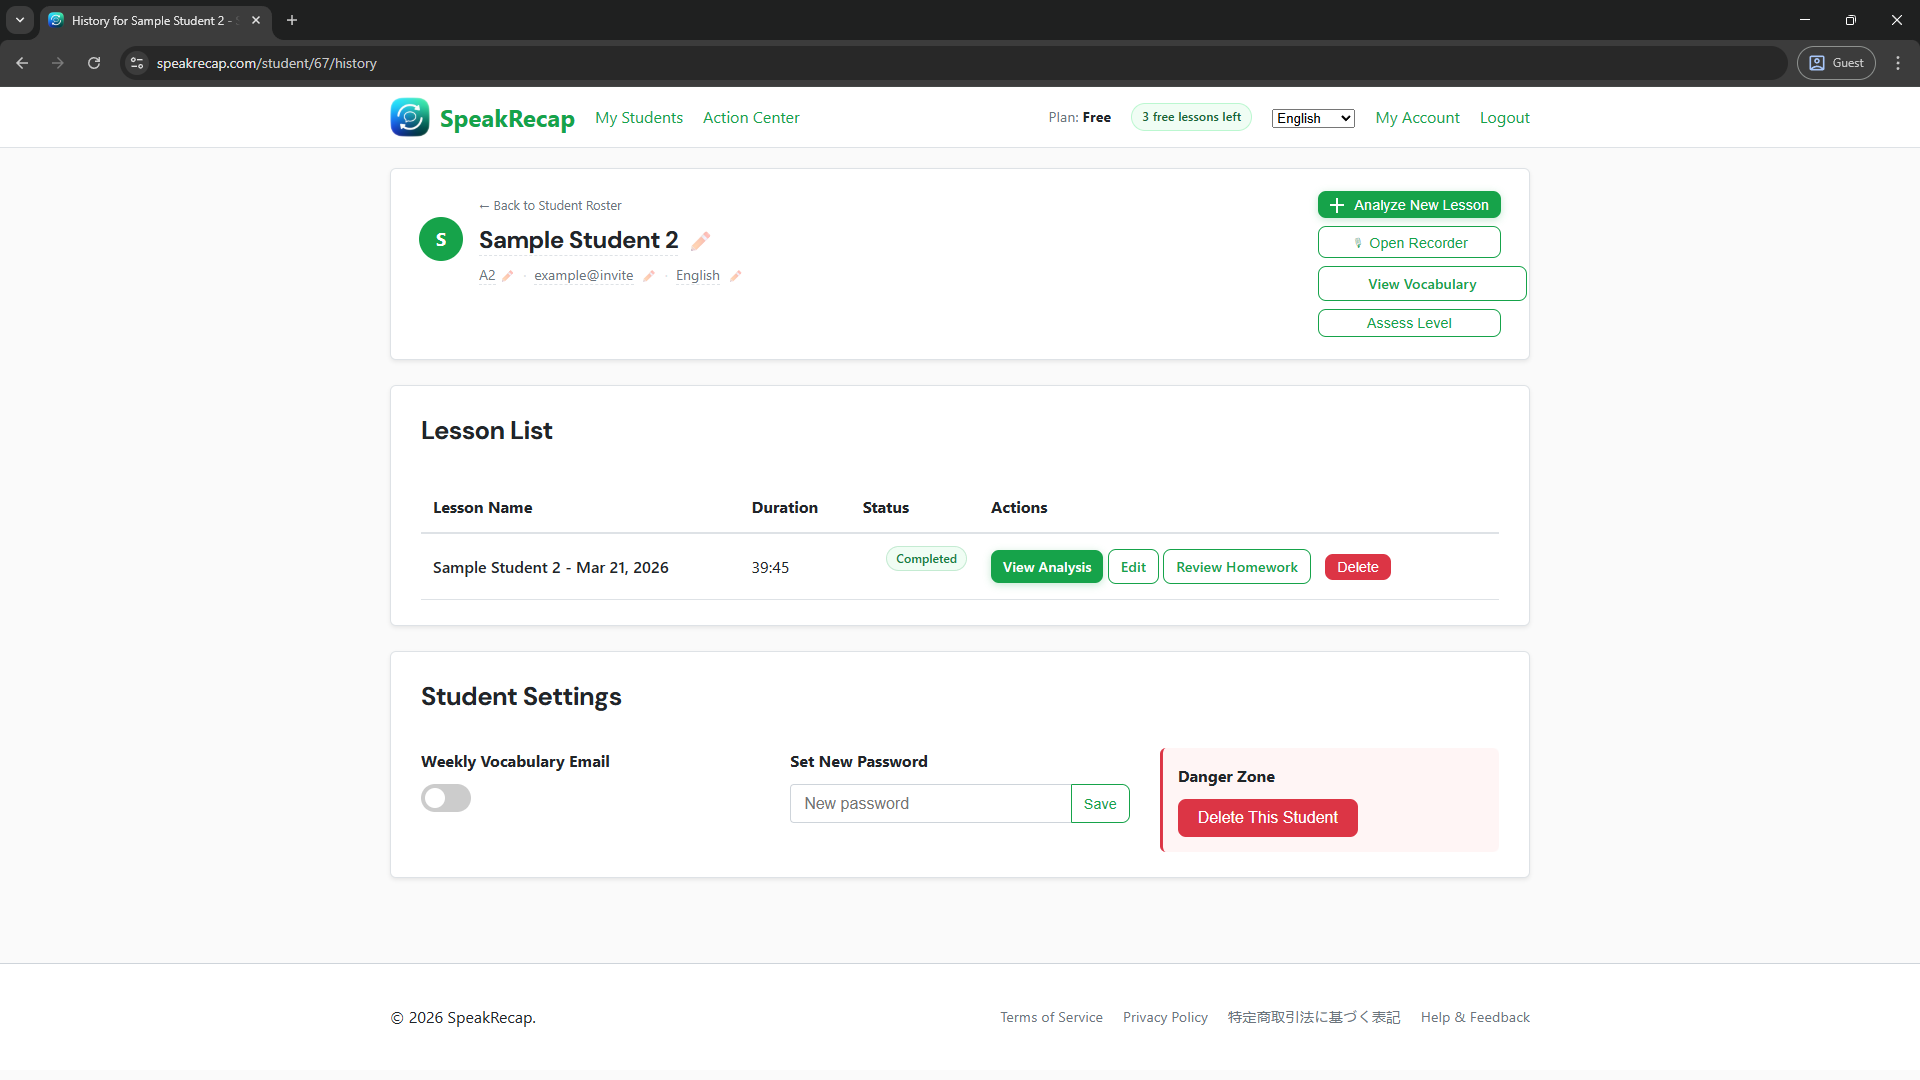
If a student doesn't have an email address, you can create their account without one and set a password for them manually from their profile page. (you can add email addreses later)
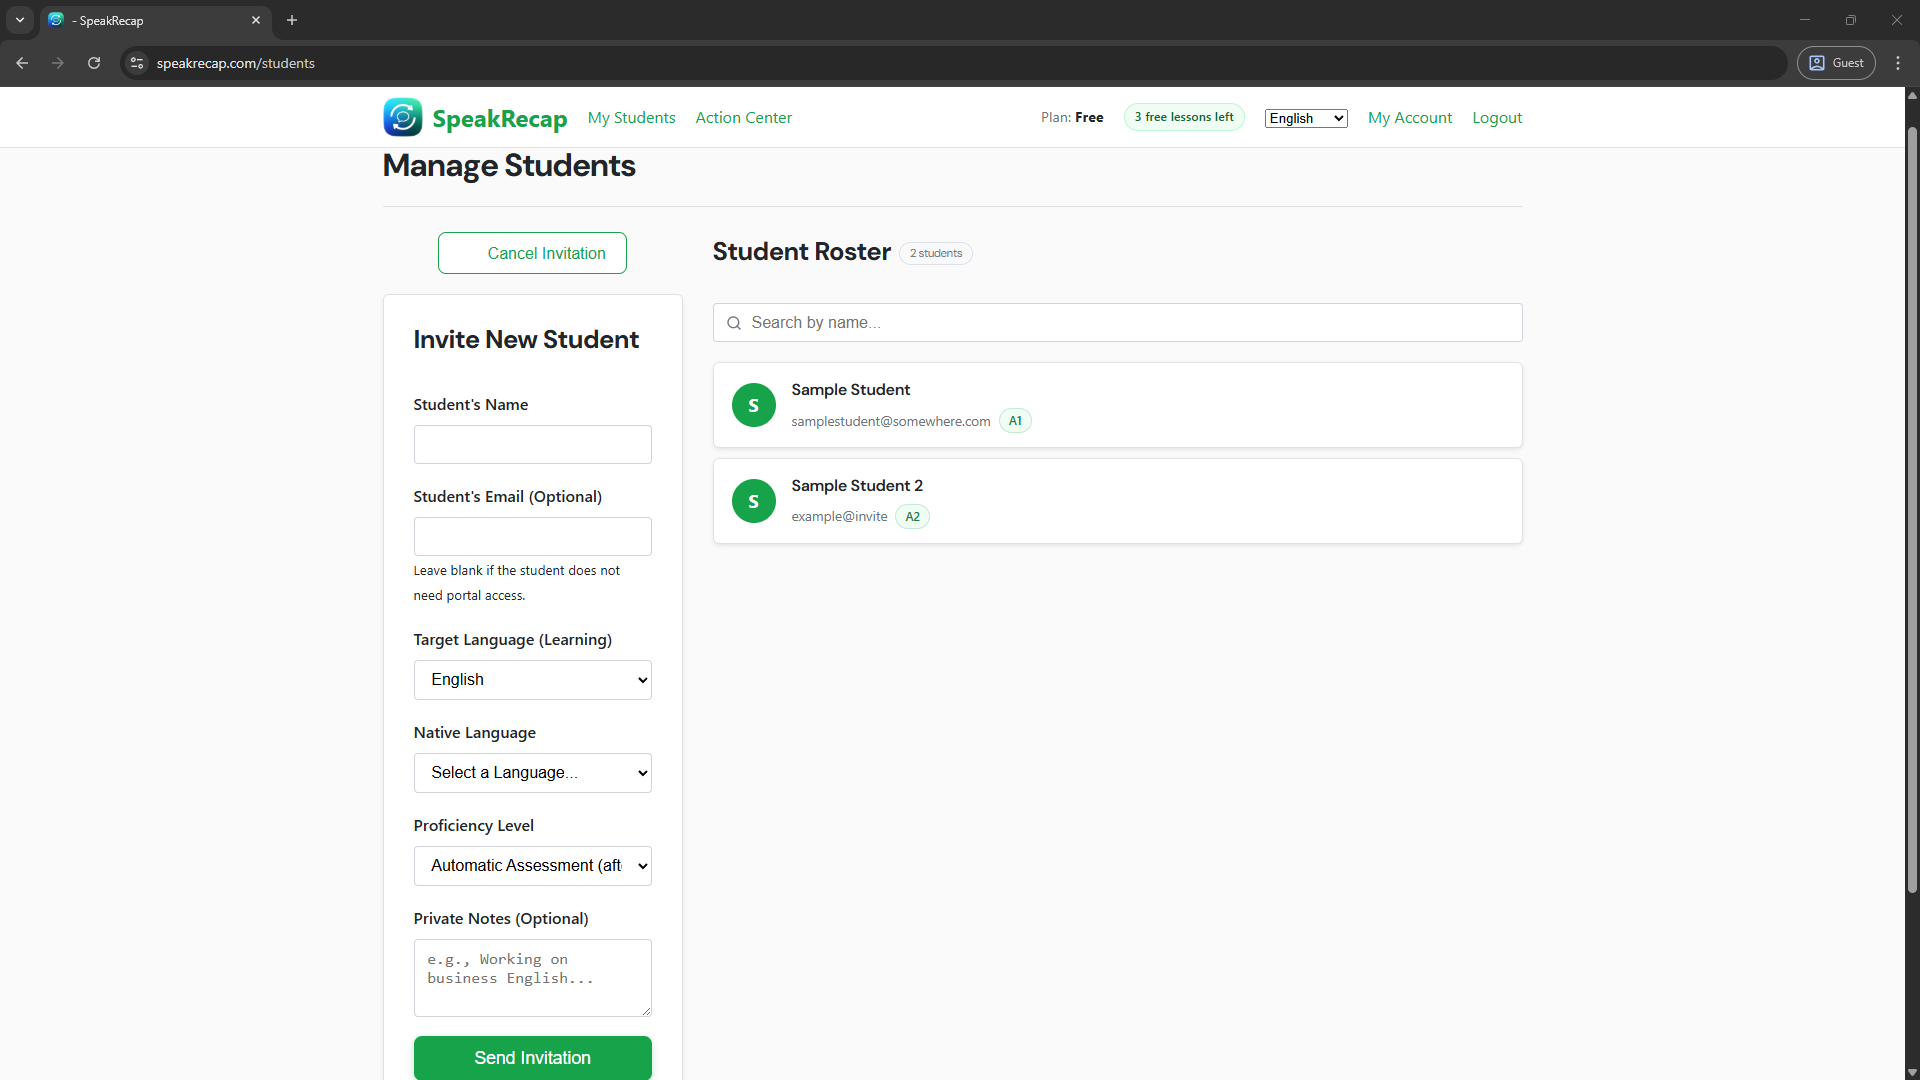
Once added, the student appears in your student list. Click their name at any time to see their lesson history, vocabulary, and progress.
Recording a Lesson
When you're ready to record, open your student's profile and click Open Recorder. The recorder opens in a separate popout window so it stays out of the way of your teaching materials.
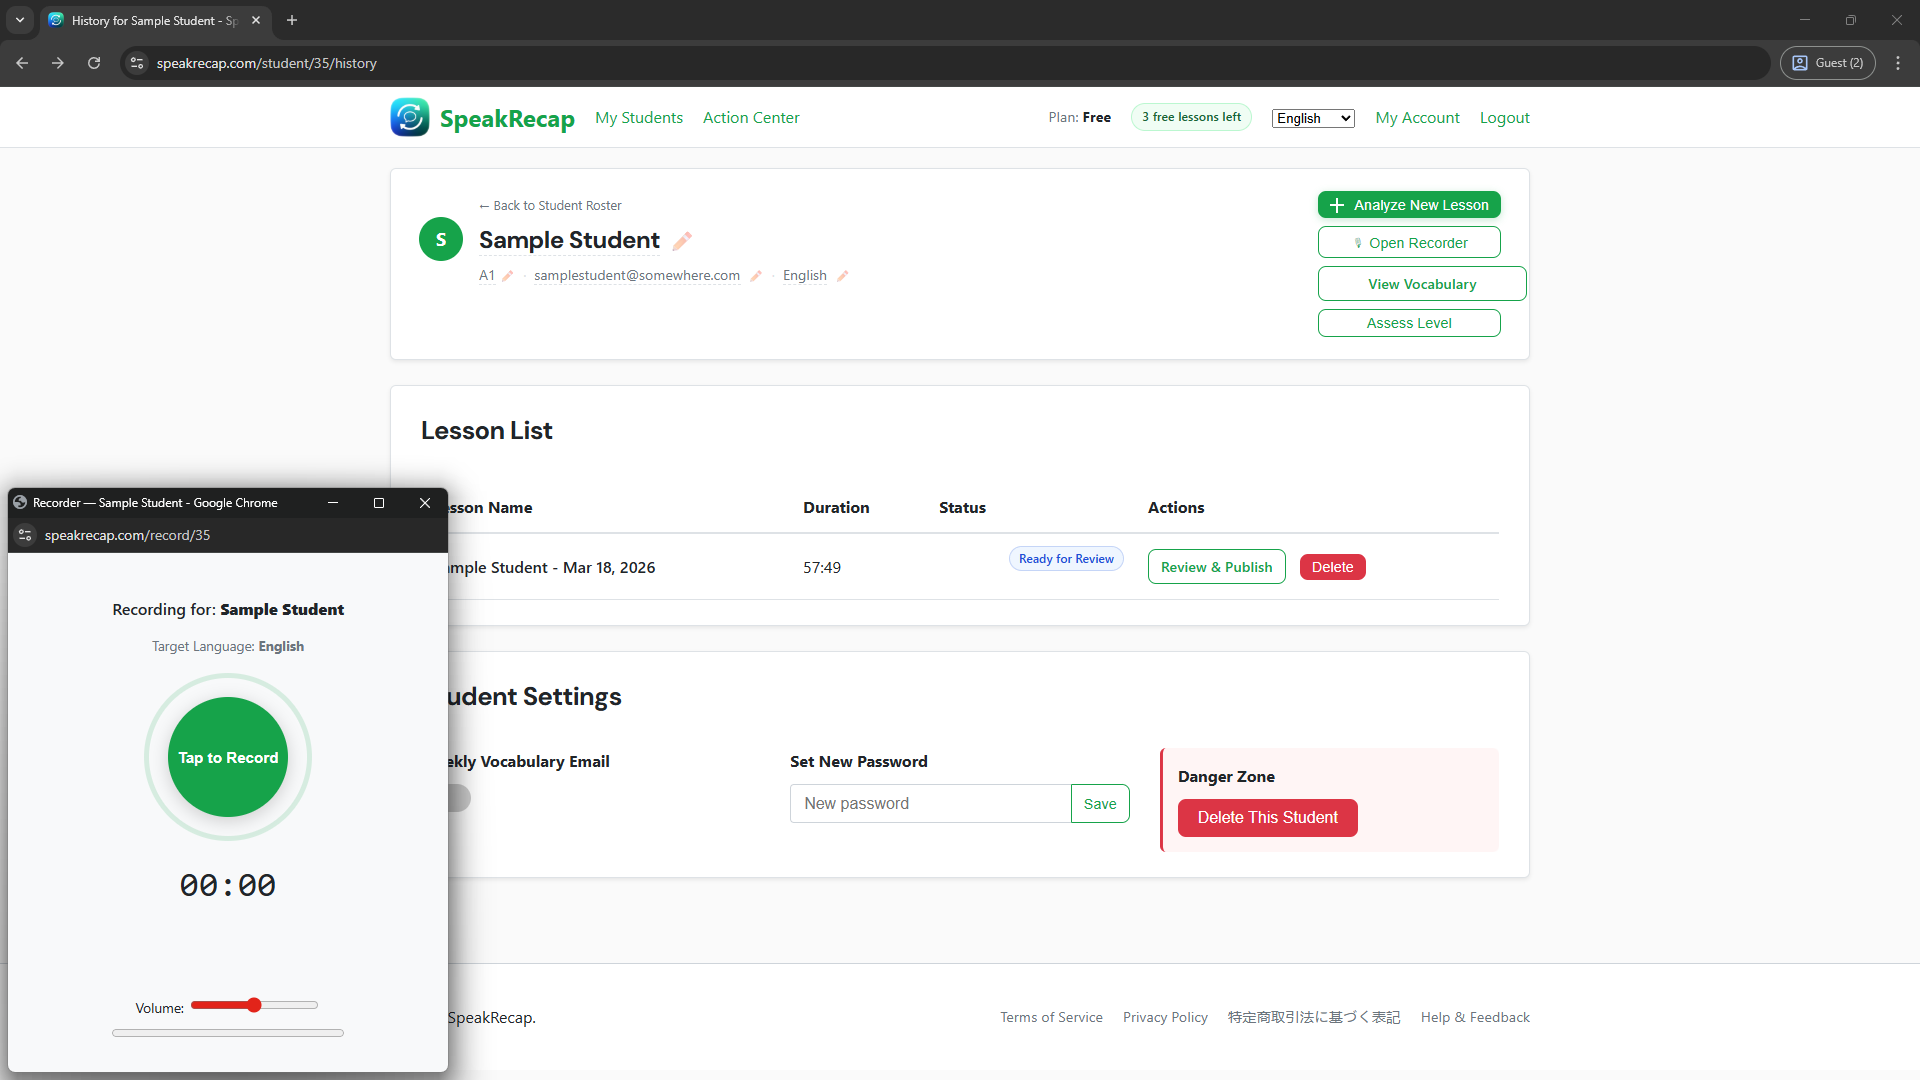
Click Record to begin. Audio is recorded as you teach - if your internet connection drops momentarily, nothing is lost.
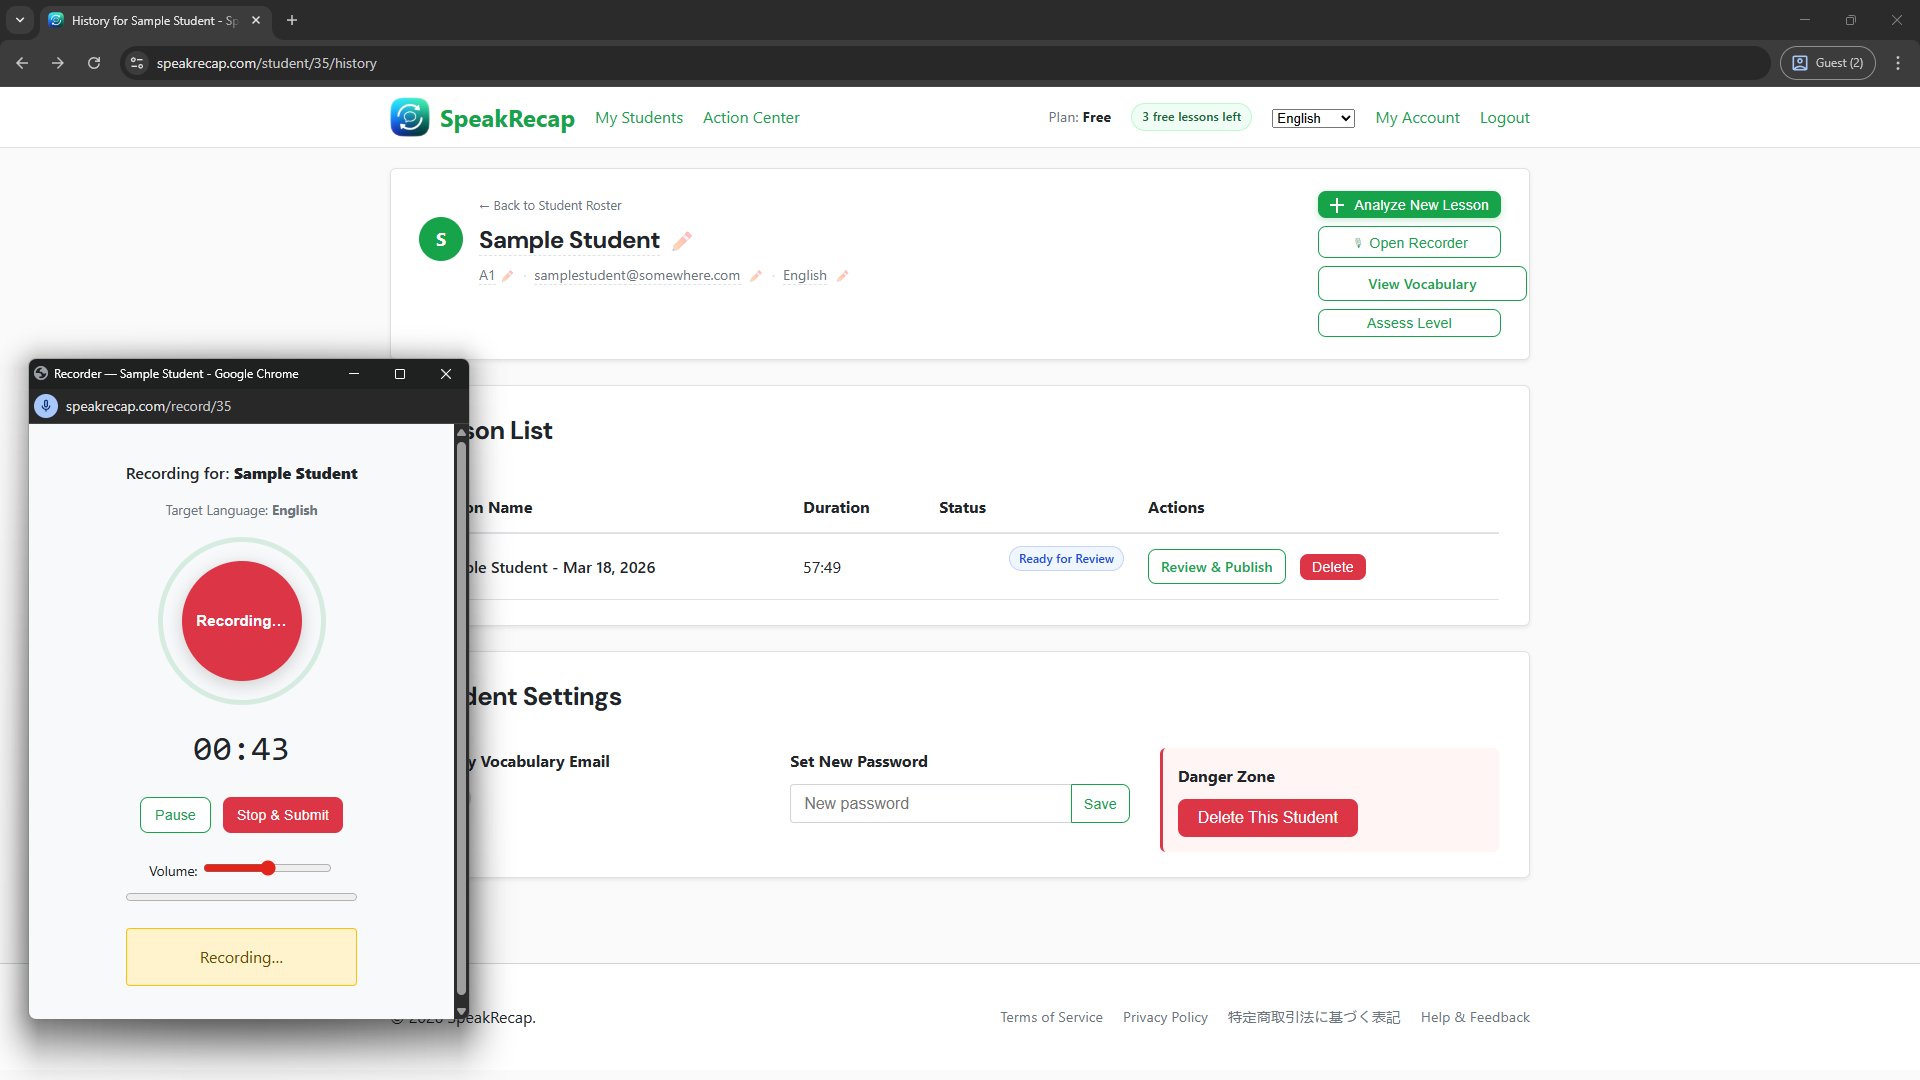
When the lesson ends, click Stop and the audio will be submitted for processing. The student's screen will briefly show Uploading... and then switch to Analysing... while the pipeline runs. You can set focus words to shape the direction of the resulting analysis.
Tips for good audio quality:
- Place your microphone, laptop, or phone between you and the student so both voices are clearly captured
- Use a quiet room where possible - background noise reduces accuracy
- Both voices need to be audible
What Happens After You Submit
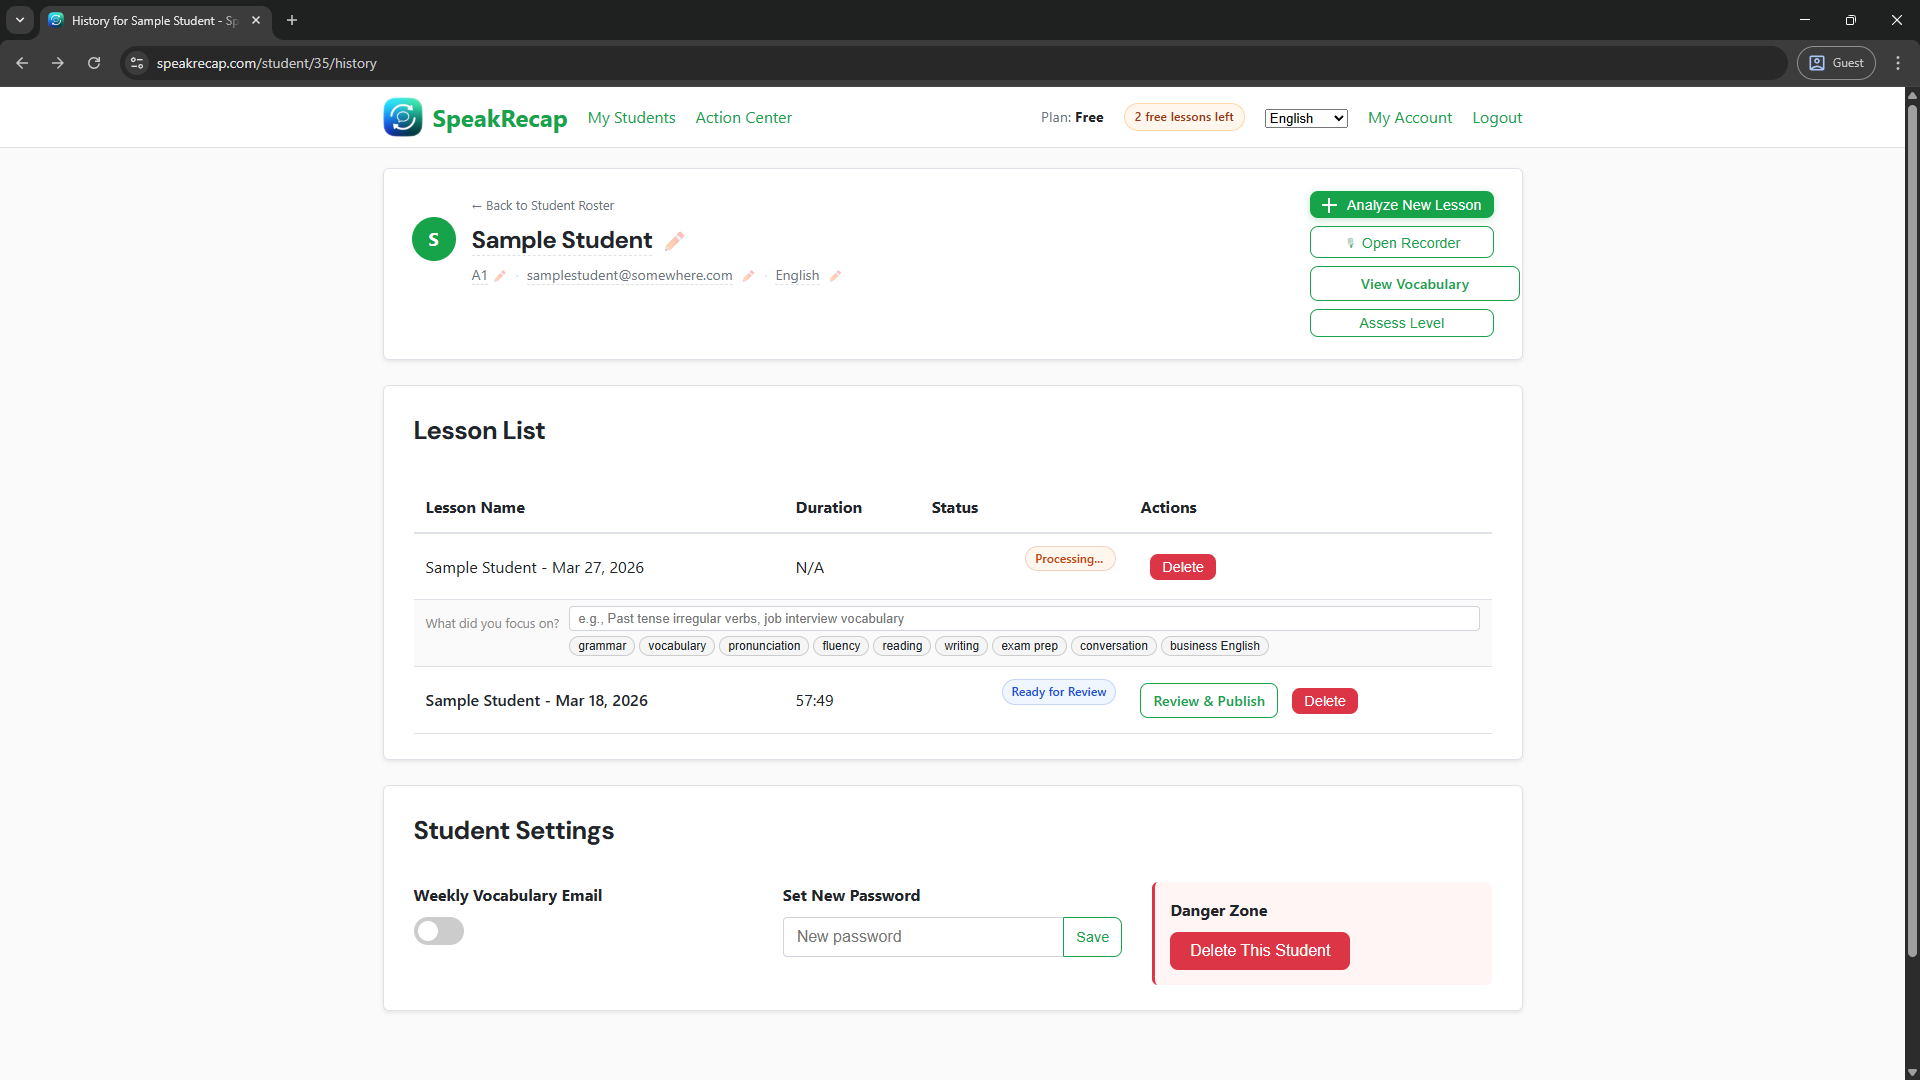
After a few minutes, you'll see the lesson status in your dashboard update from Analysing to Ready to Review. The full process usually takes 5–10 minutes.
Reviewing and Publishing
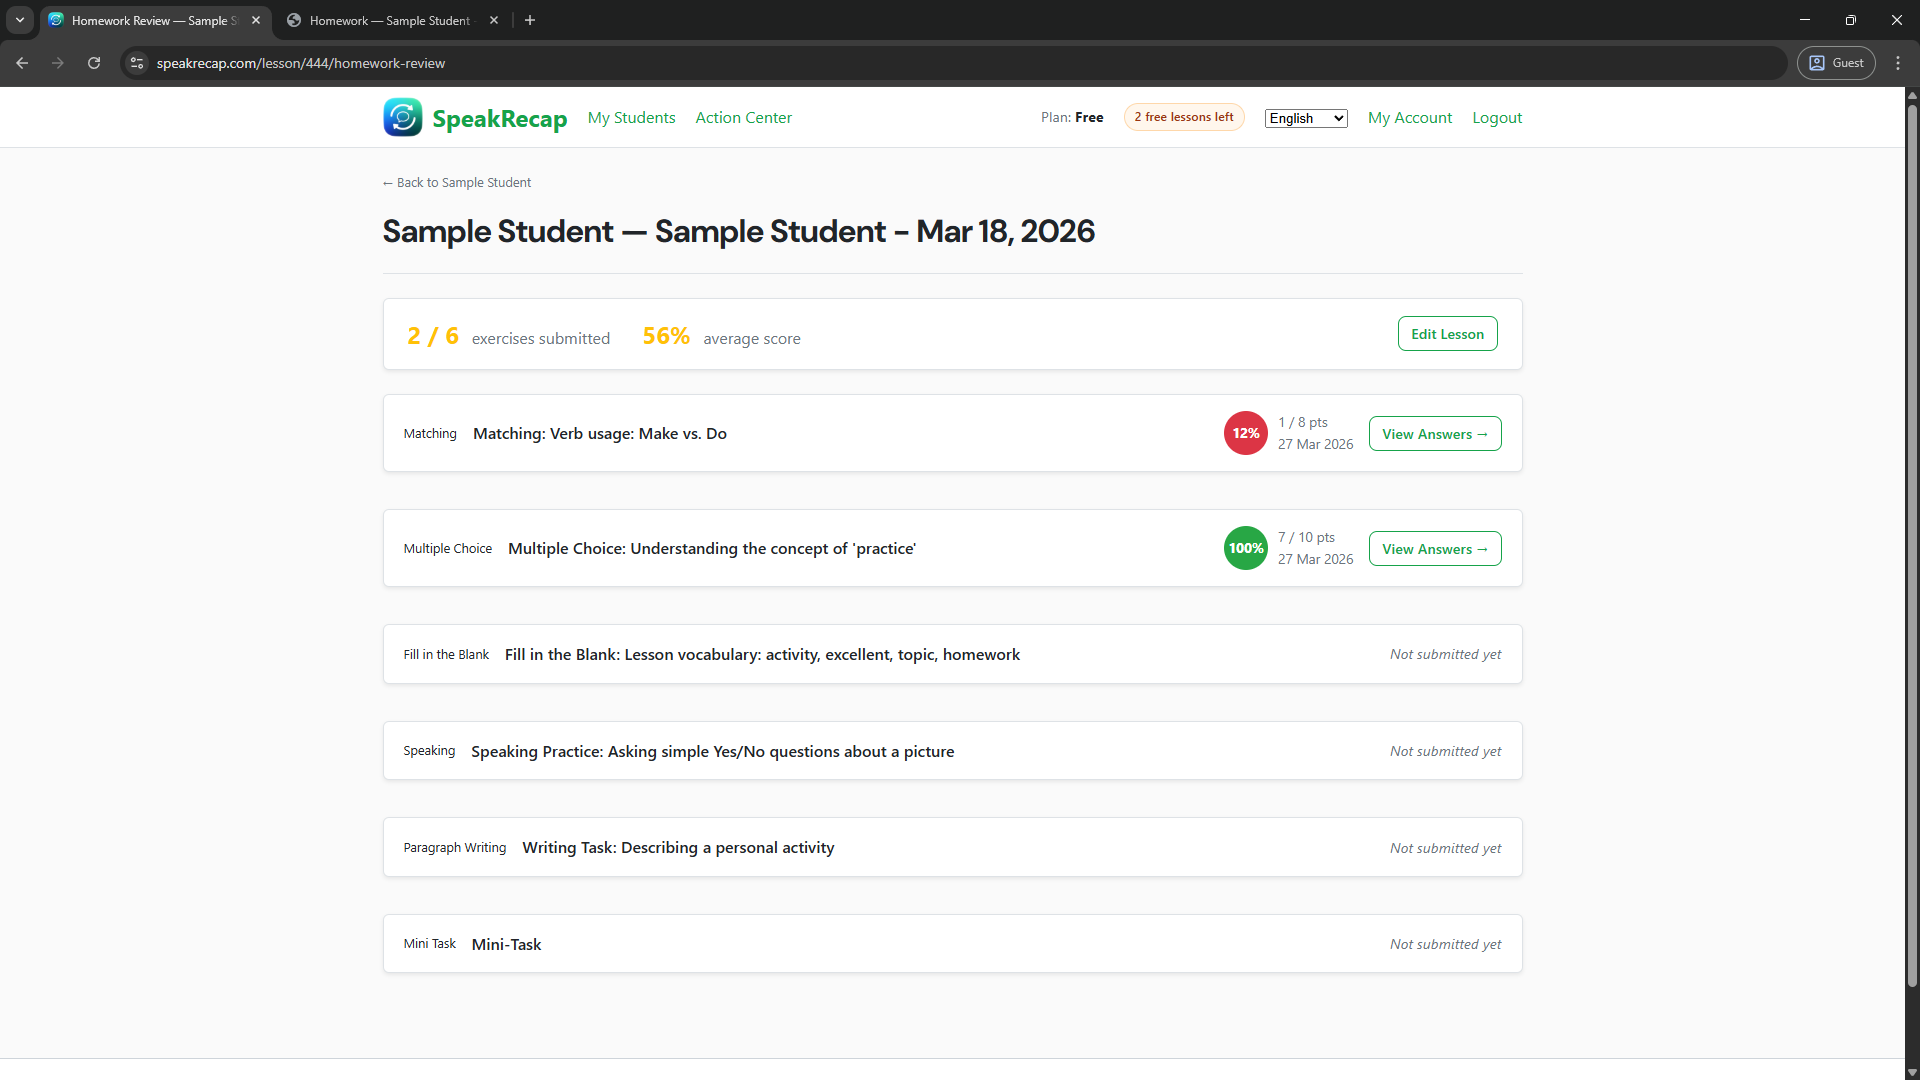
Click Review on a lesson marked Ready to Review to open the edit screen. You'll see an editable short summary, followed by exercises:
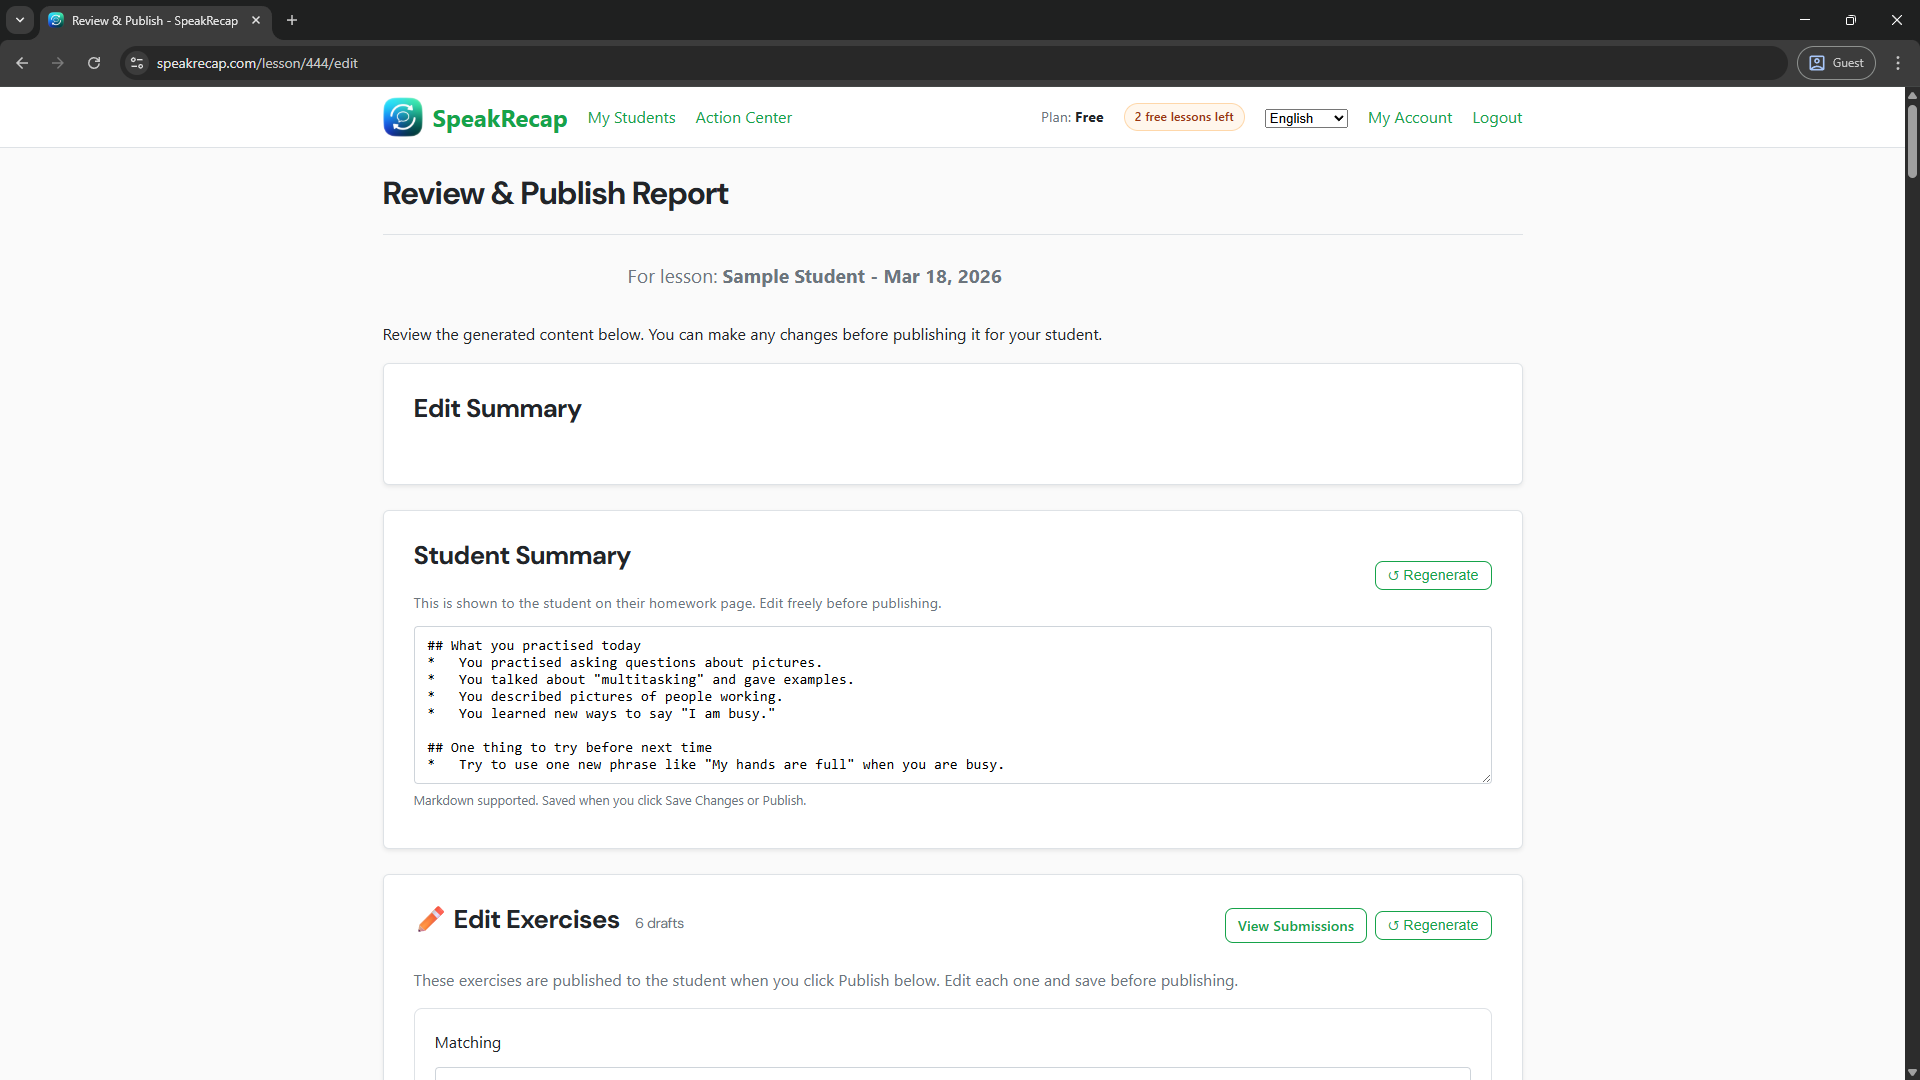
- Student summary - a student-friendly recap of what was covered in the lesson. This is what your student sees at the top of their homework page.
- Exercises - draft exercises generated from the lesson content. Review each one, adjust wording if anything is unclear, and remove any that aren't suitable.
- Vocabulary - terms extracted from the lesson. You can add, remove, or edit individual entries. These become the student's flashcards when you publish.
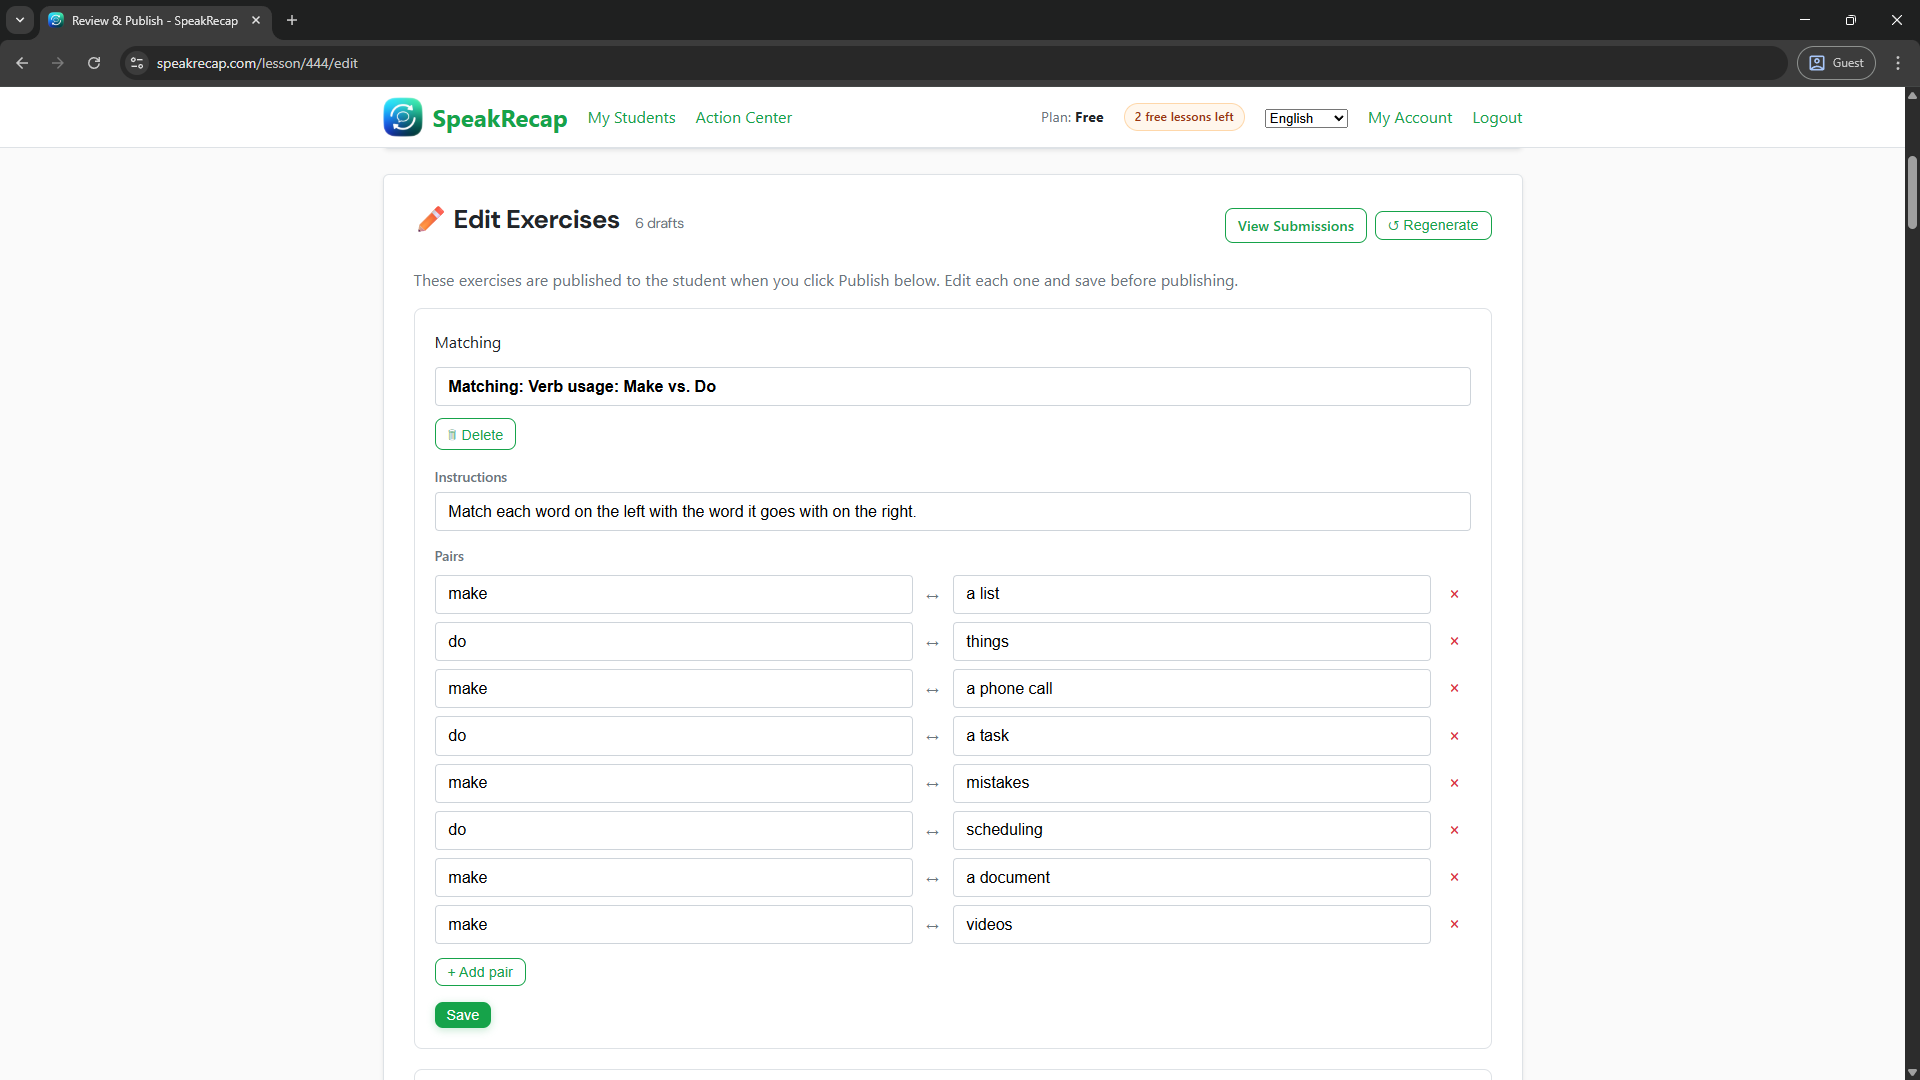
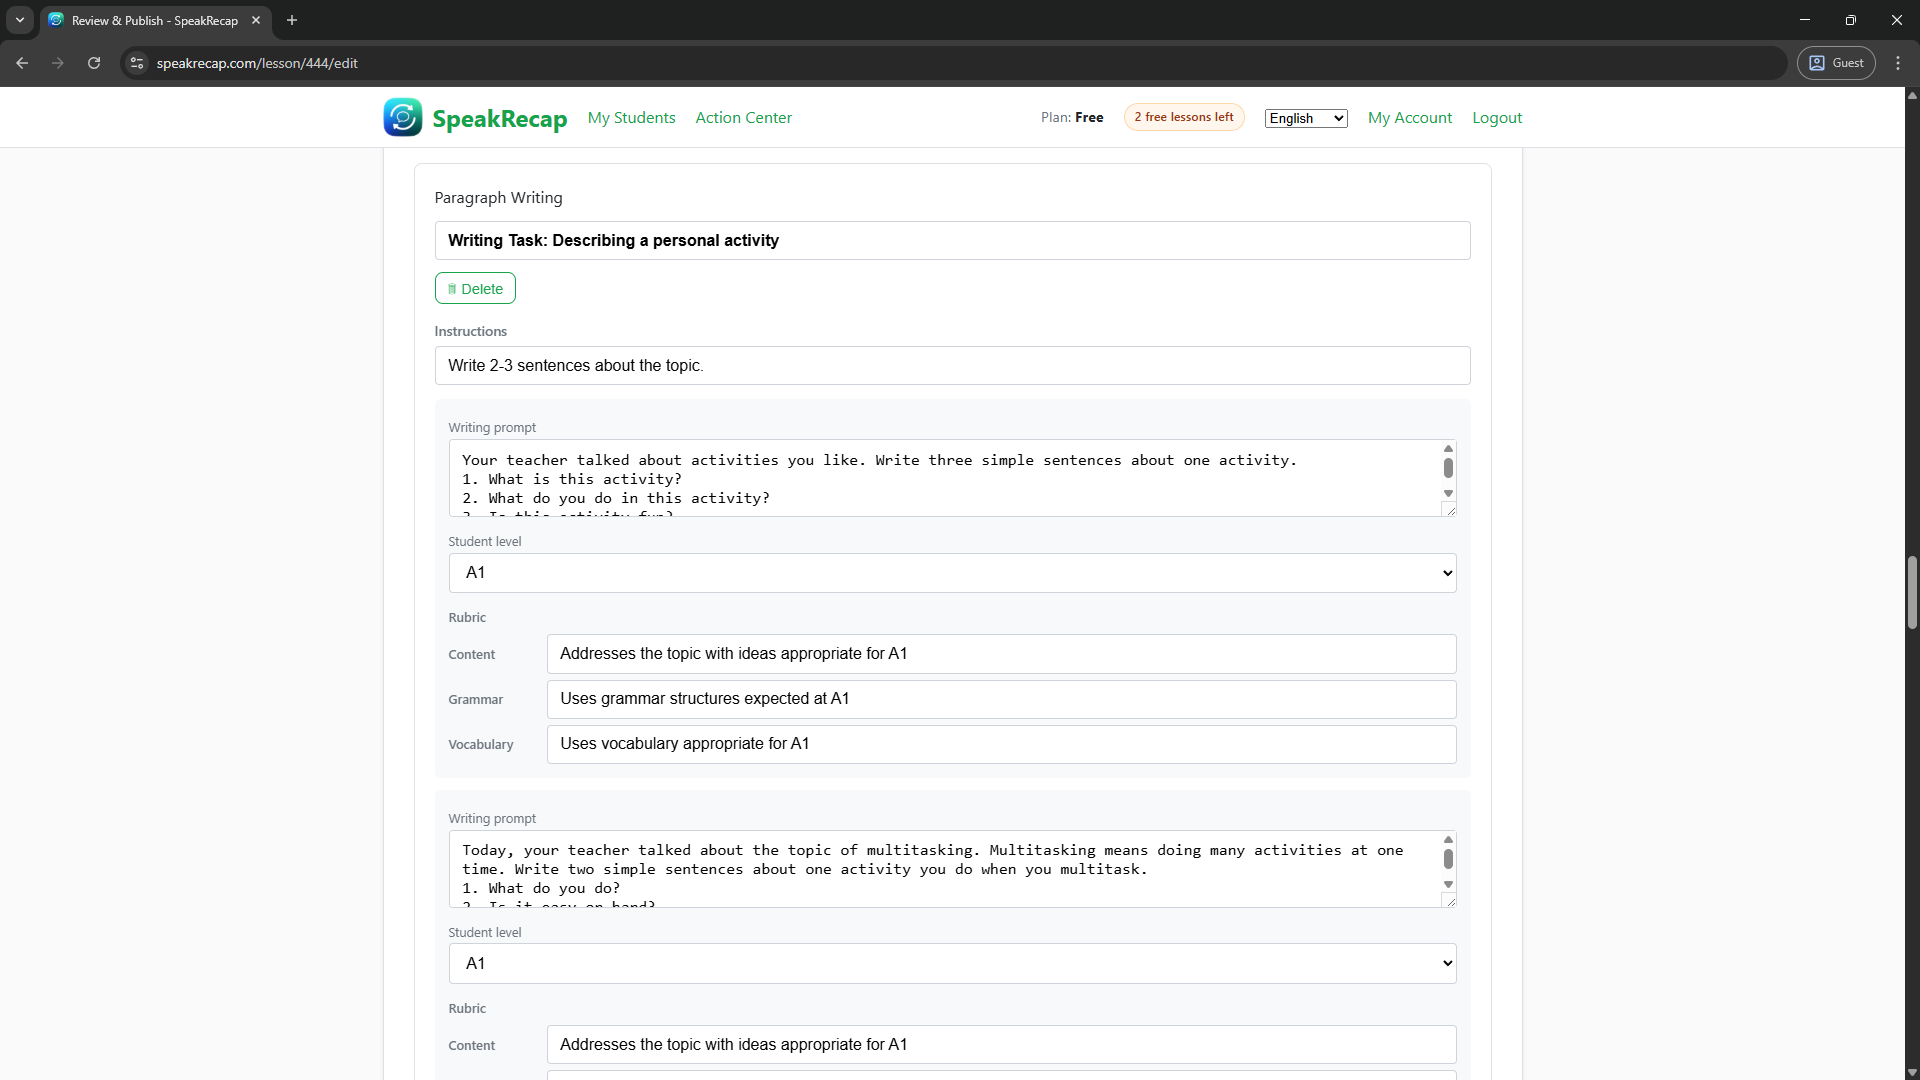
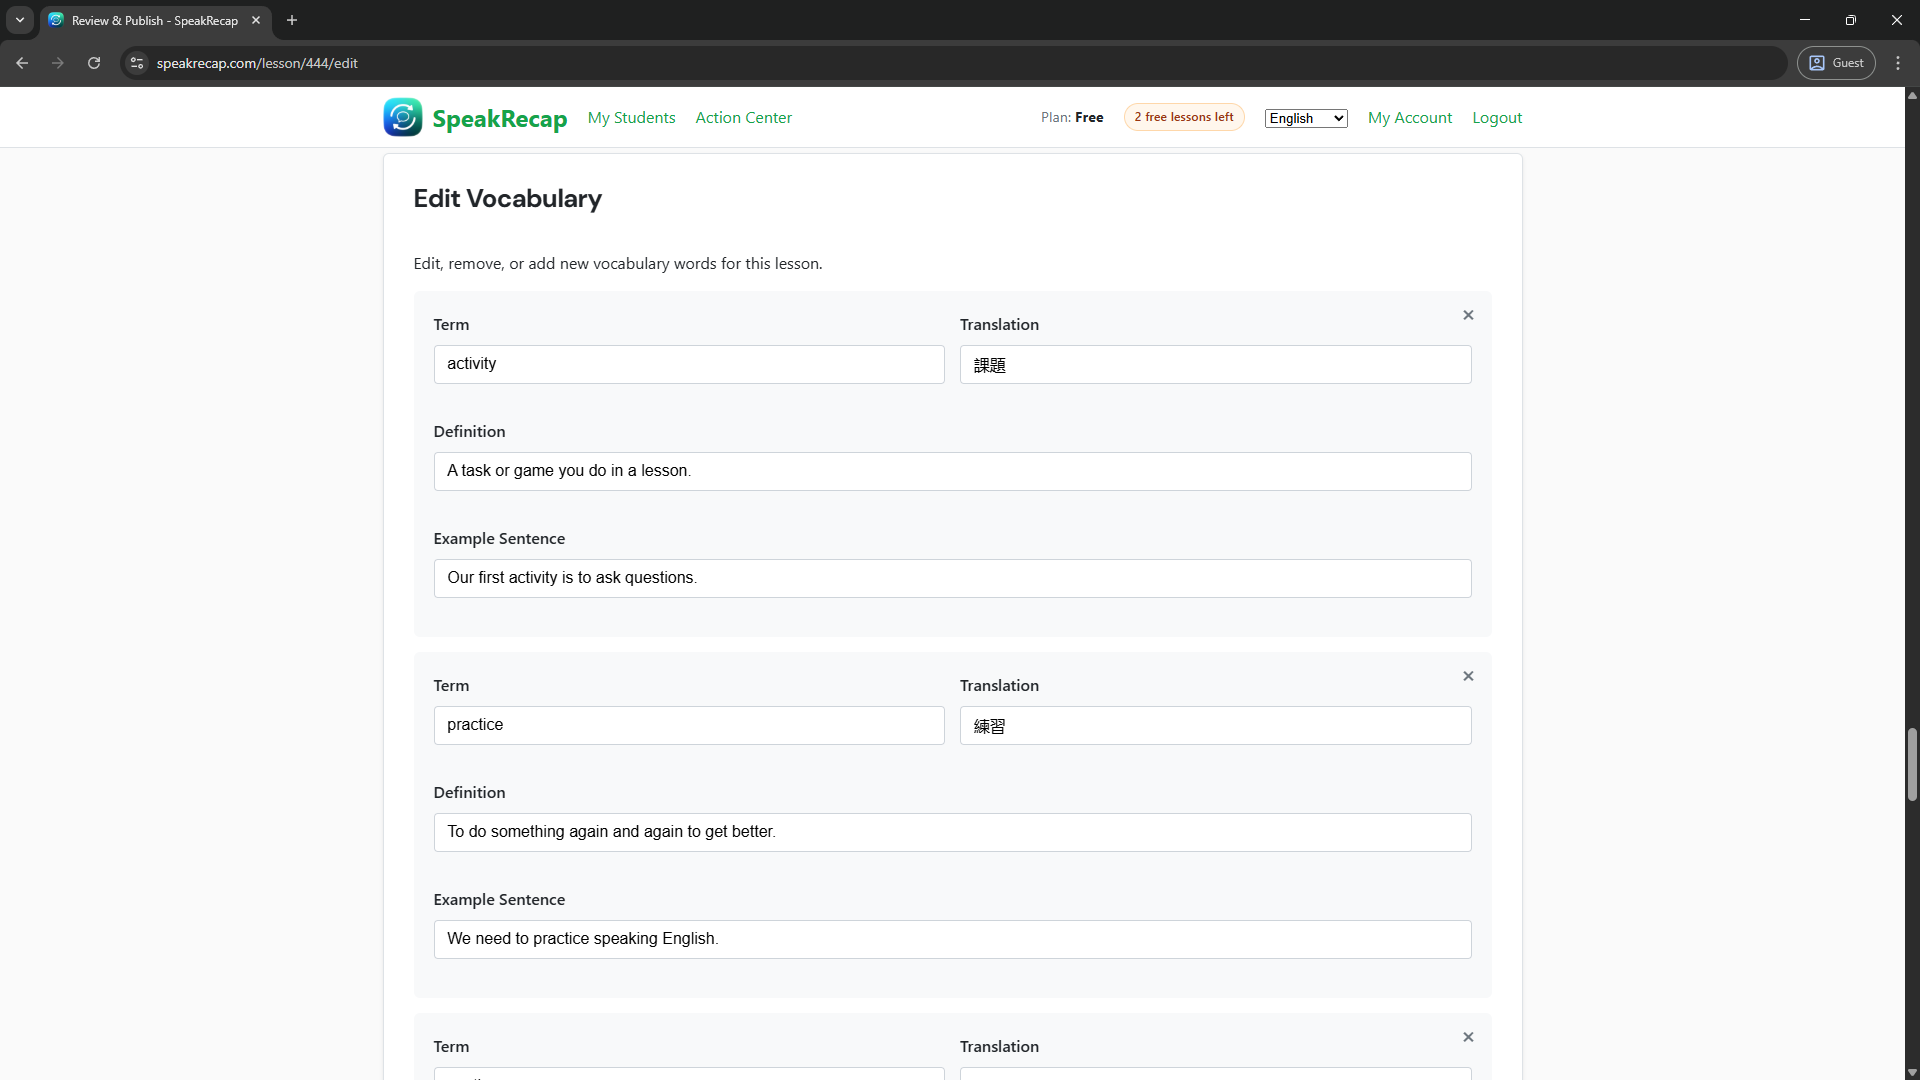
Once you're satisfied, click Publish. This will:
- Make the lesson summary, vocabulary, and exercises visible to your student
- Send your student a notification email that their homework is ready
- Automatically create flashcards from the vocabulary list
What Your Student Sees
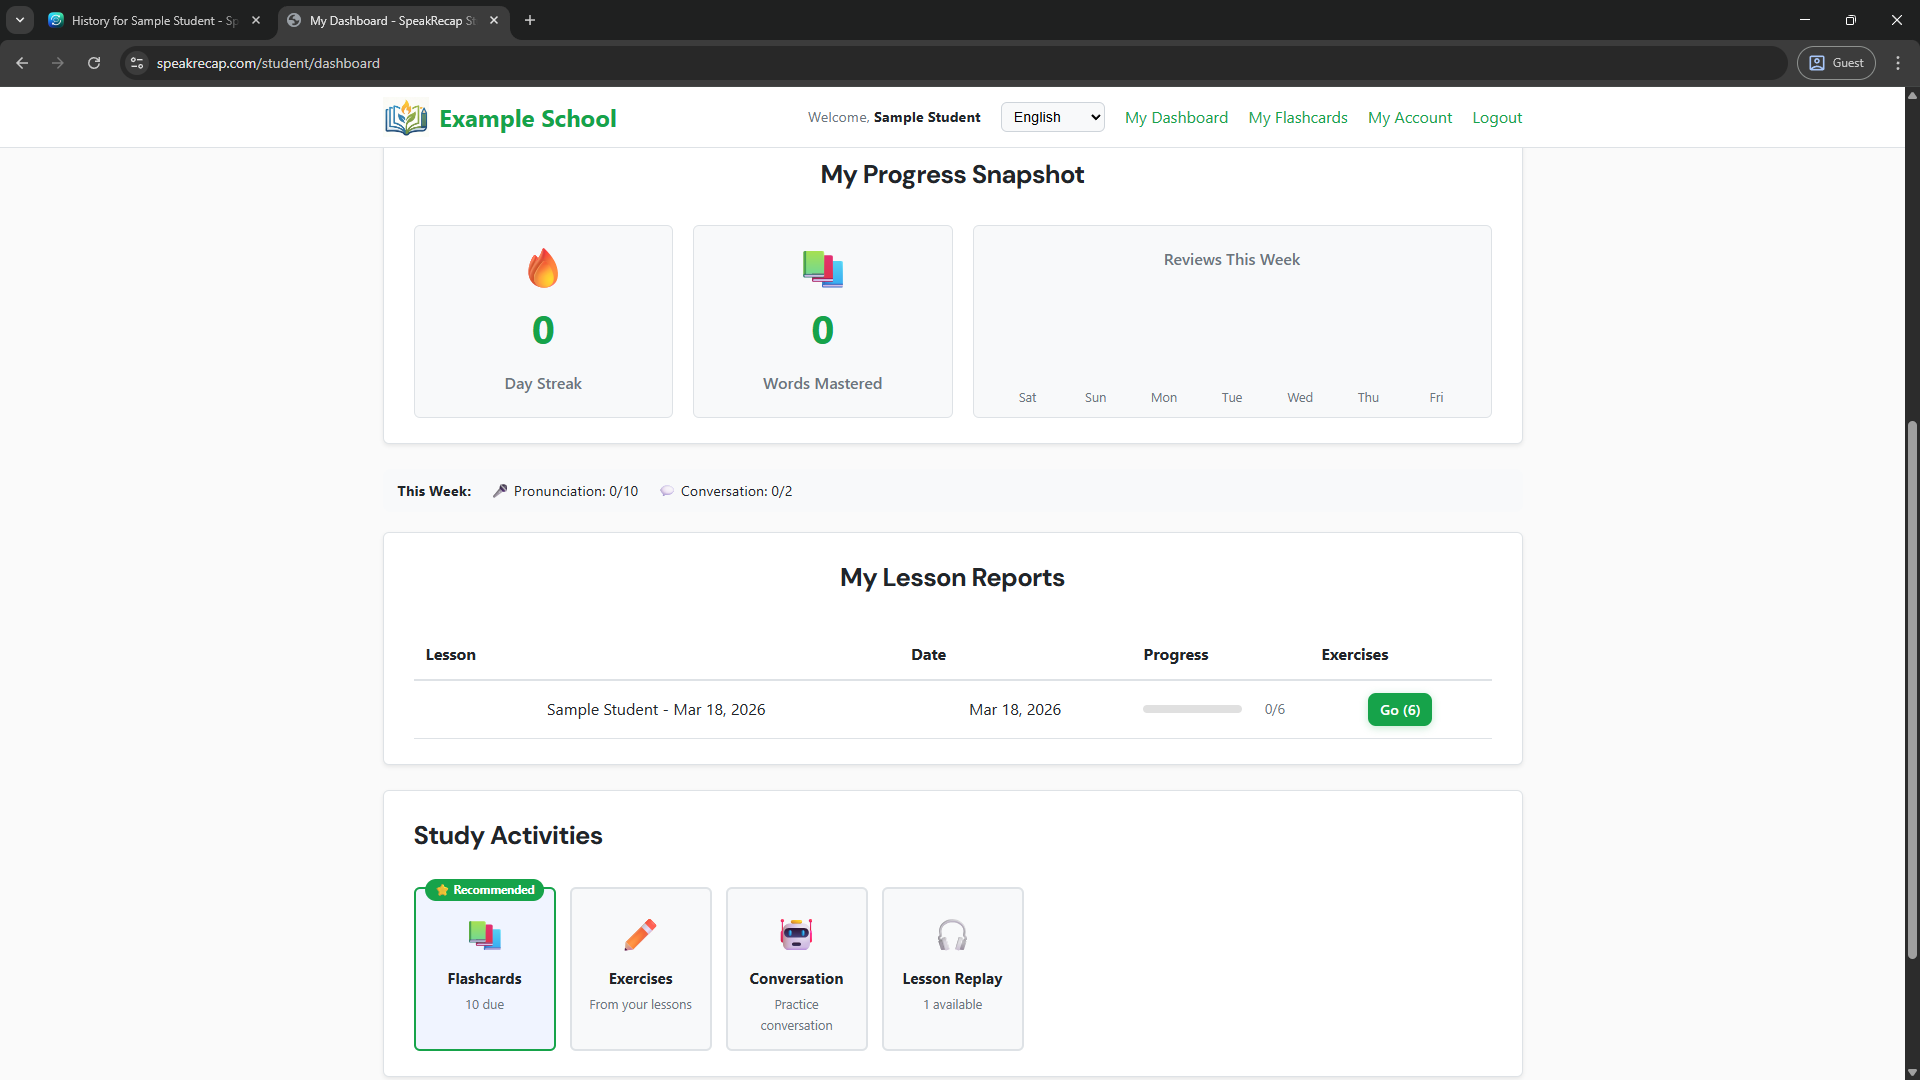
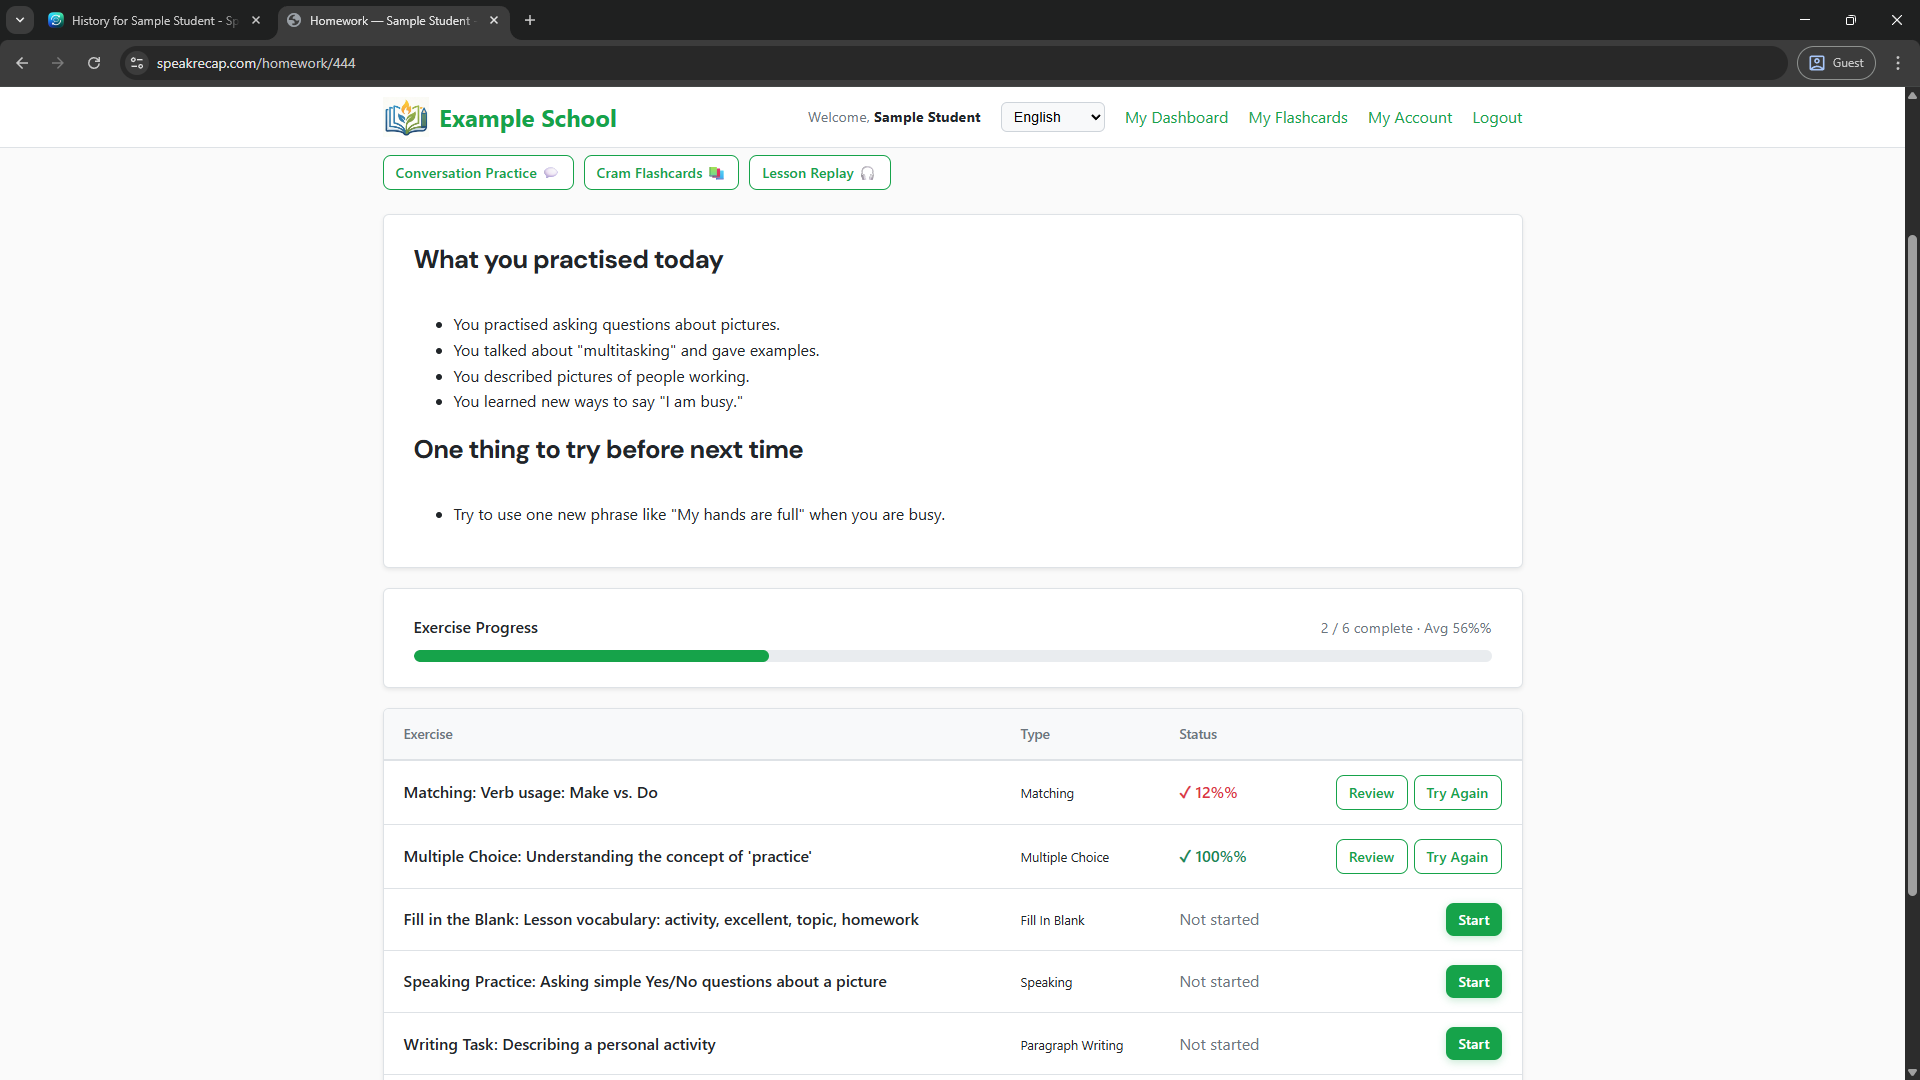
After publishing, your student logs in and sees their dashboard with a summary of their recent lessons, upcoming flashcards due for review, and a recommended next activity.
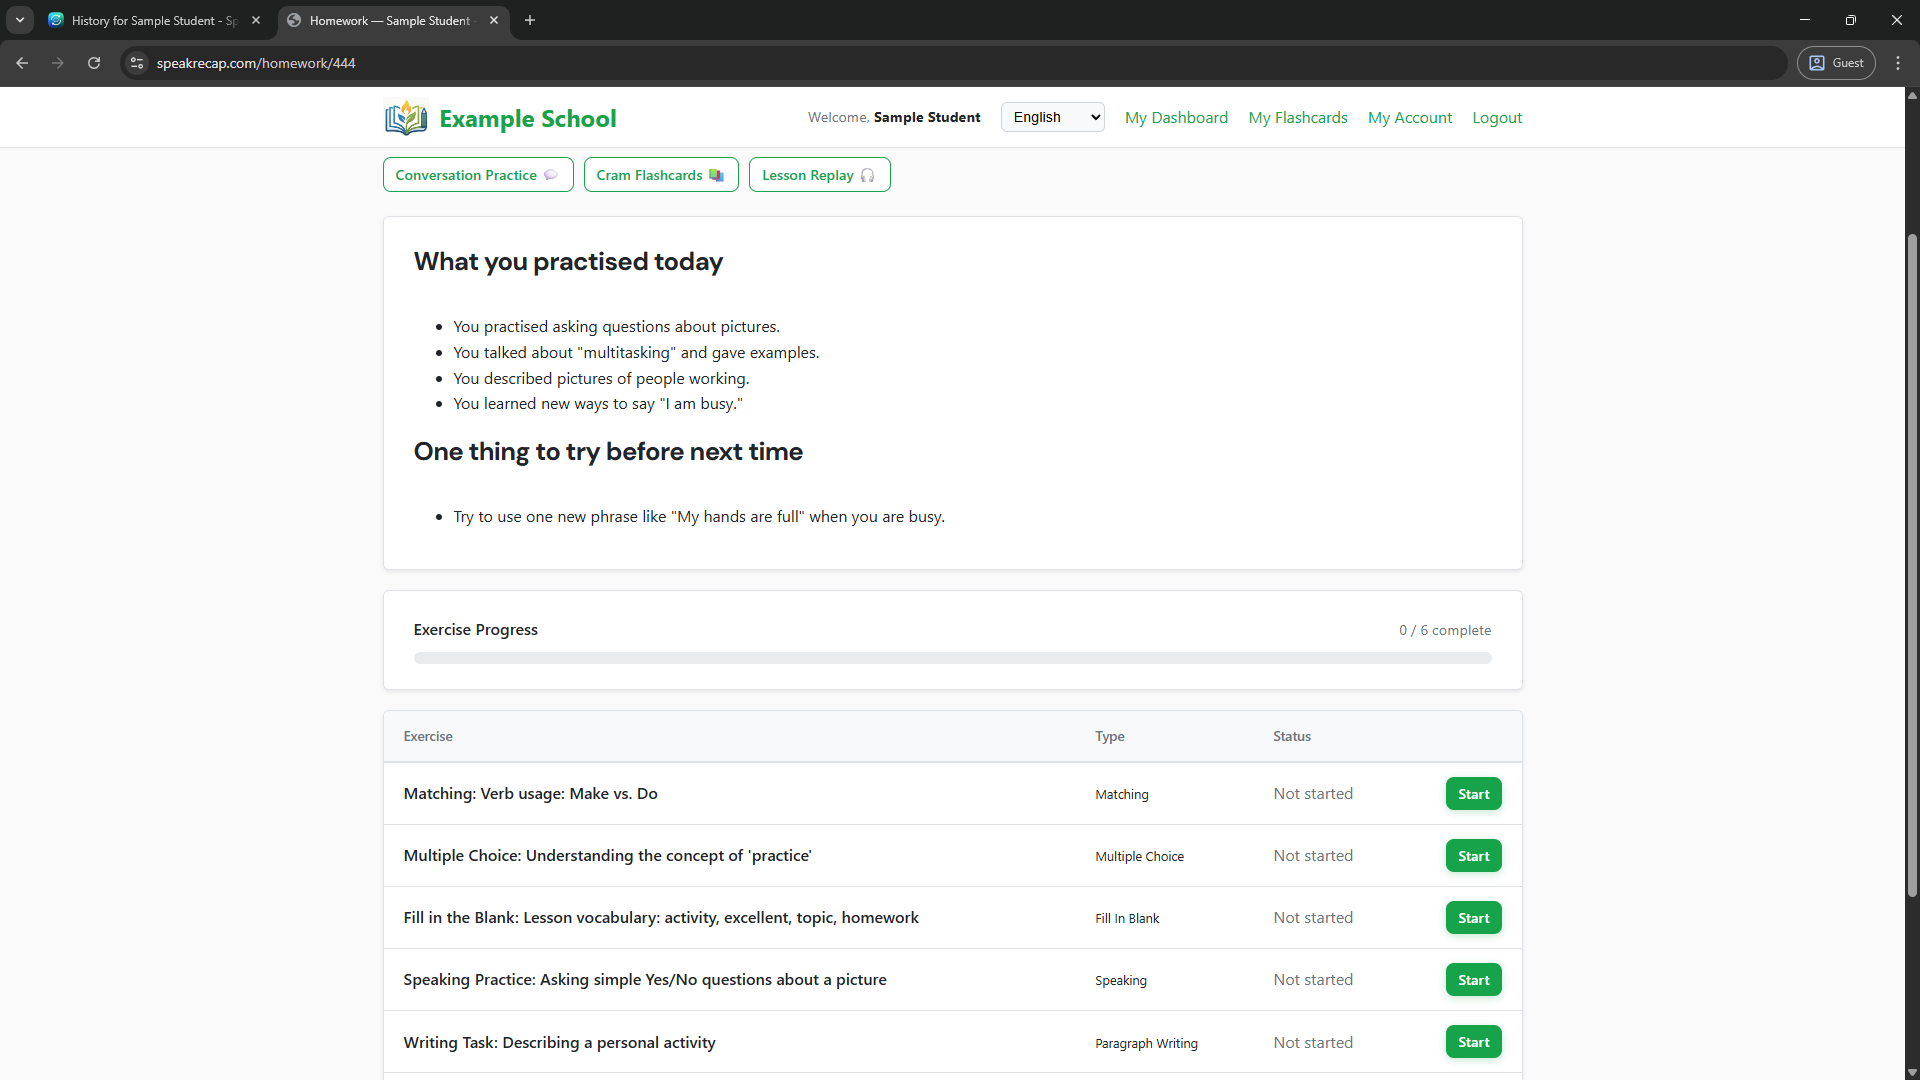
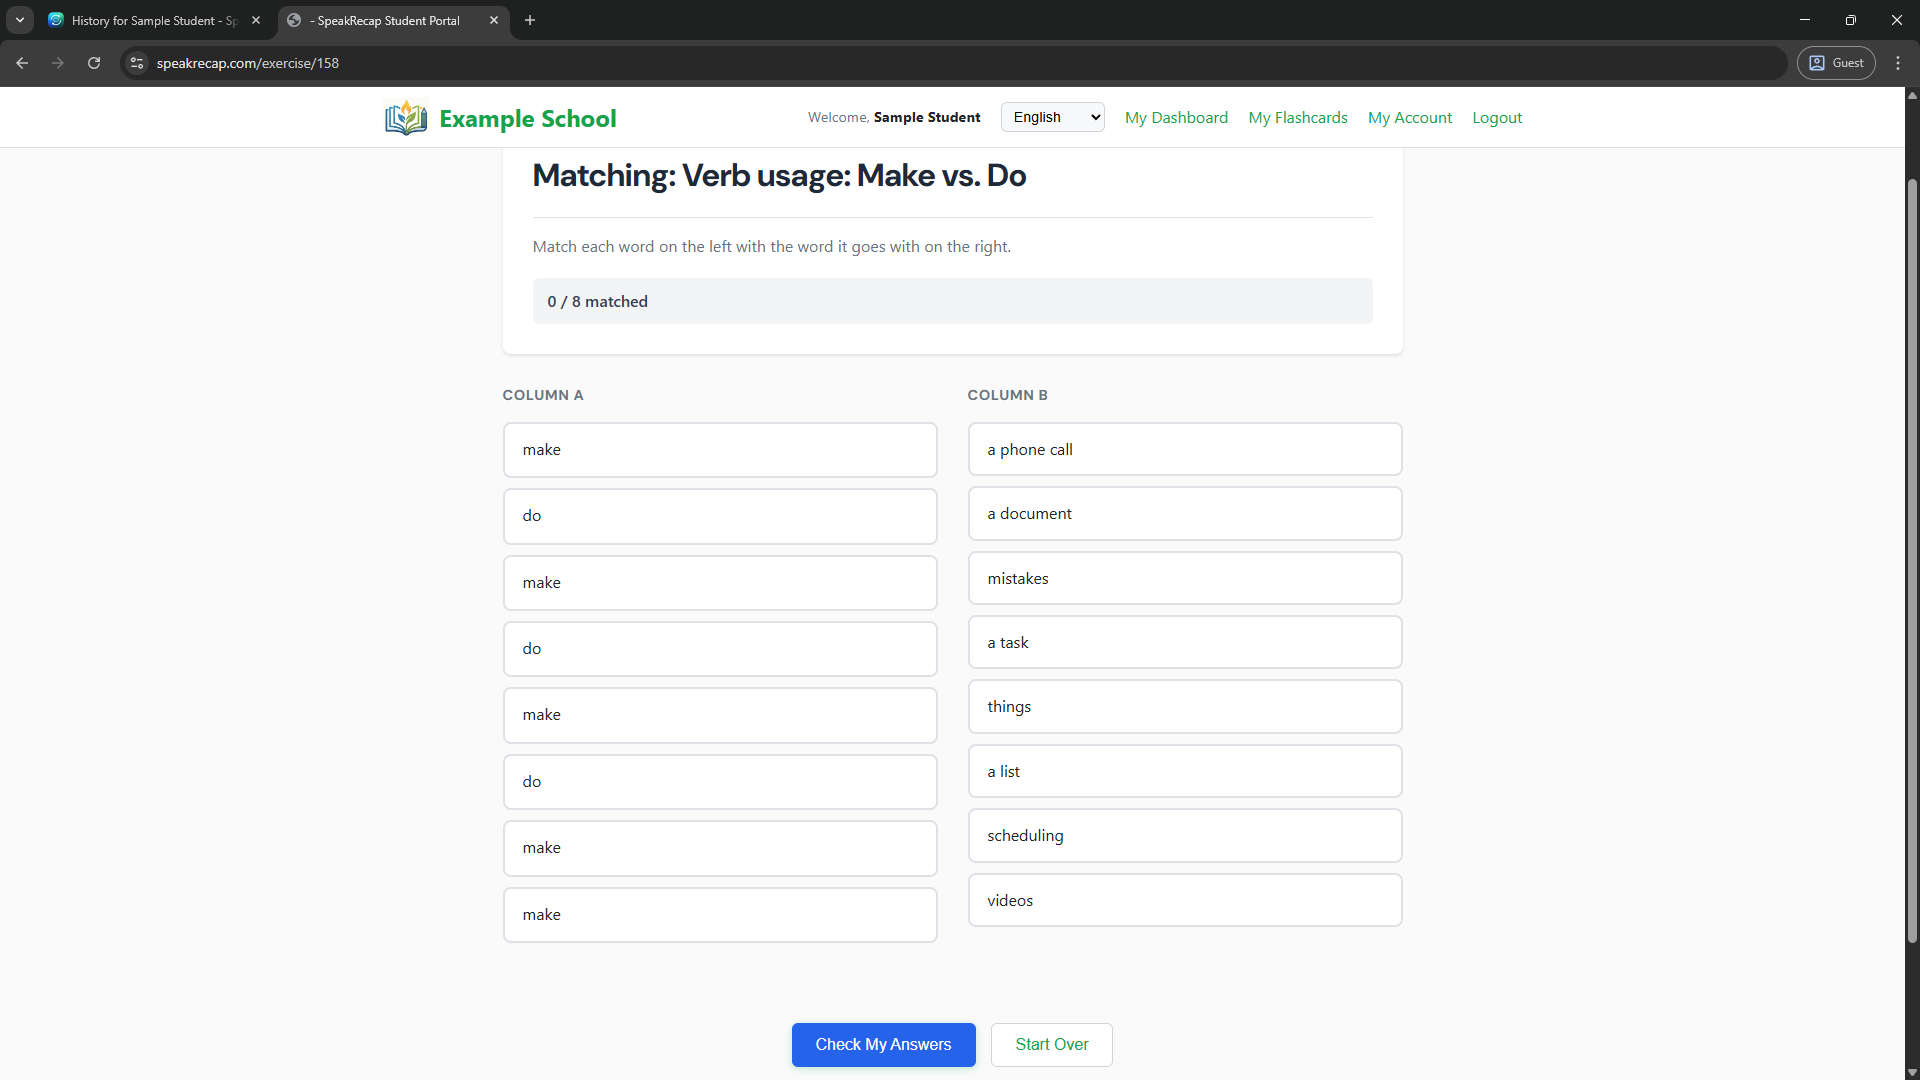
From the homework page, they can work through each exercise. If they're stuck, SpeakRecap provides graduated hints - a gentle nudge first, then a fuller explanation - rather than just revealing the answer immediately.
Flashcards are created automatically from the lesson vocabulary and use a spaced repetition system. Cards the student finds difficult appear more frequently. Understood cards space out over days and weeks.
Free Plan Limits
SpeakRecap's free plan includes 5 lesson credits to get you started - each lesson you submit uses one credit. When you upgrade to a paid plan, lesson submissions are unlimited (subject to your plan's monthly audio minute allowance).
Students on the free plan have the following weekly limits, which reset every Monday:
| Feature | Free limit |
|---|---|
| Exercise submissions | 2 per week |
| AI conversation practice | 2 sessions per week |
| Pronunciation practice | 10 attempts per week |
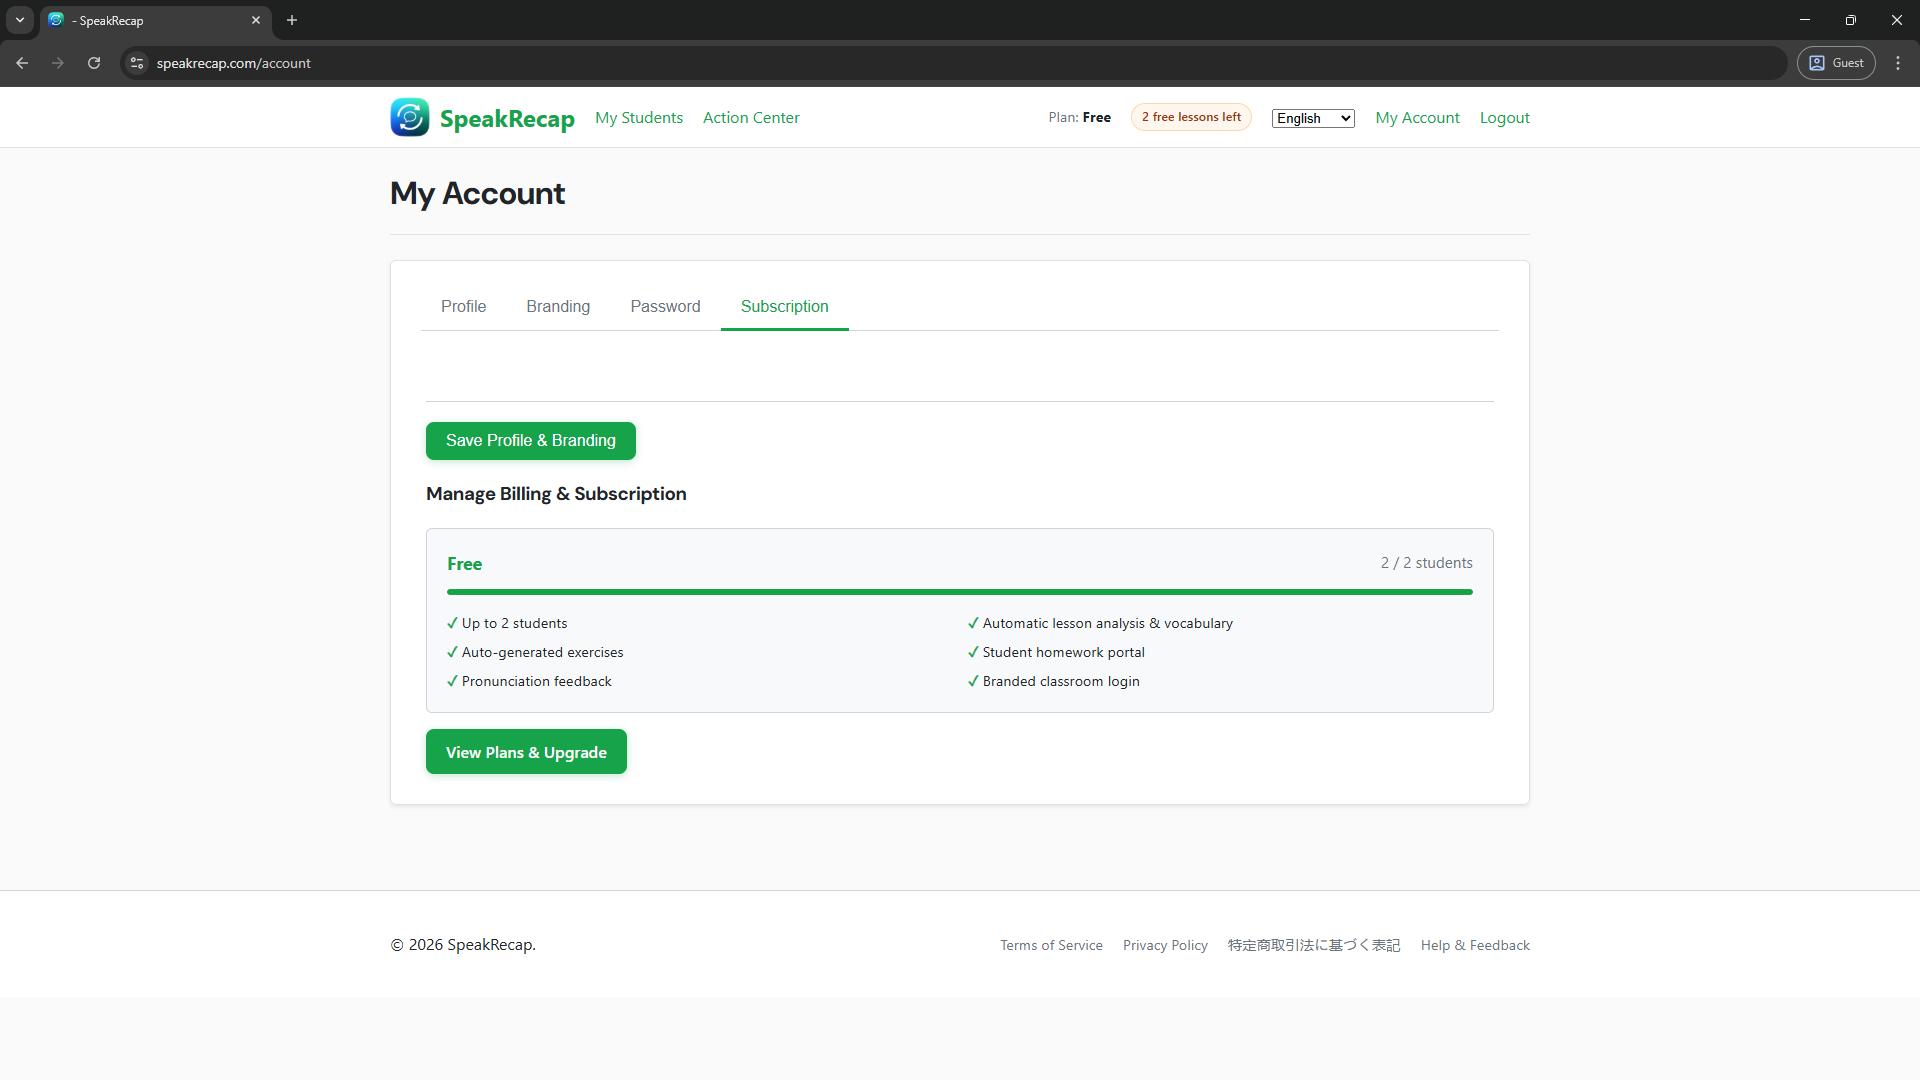
To remove all student limits and unlock unlimited lesson submissions, upgrade under Account → Billing.